Daikin R32 Split Series Посібник з монтажу - Сторінка 12

Переглянути онлайн або завантажити pdf Посібник з монтажу для Вентилятор Daikin R32 Split Series. Daikin R32 Split Series 20 сторінок. R32 split series
Також для Daikin R32 Split Series: Посібник з монтажу (17 сторінок), Посібник з монтажу (16 сторінок), Посібник з монтажу (16 сторінок), Посібник з монтажу (16 сторінок), Посібник з монтажу (17 сторінок), Посібник з монтажу (16 сторінок), Посібник з монтажу (14 сторінок), Посібник з монтажу (14 сторінок), Посібник з експлуатації (16 сторінок), Посібник з експлуатації (16 сторінок), Посібник з експлуатації (8 сторінок), Посібник з монтажу (17 сторінок), Посібник з монтажу (16 сторінок), Посібник з монтажу (20 сторінок), Посібник з монтажу (20 сторінок), Посібник з монтажу (16 сторінок), Посібник з монтажу (16 сторінок), Посібник з монтажу (14 сторінок), Посібник з монтажу (14 сторінок), Посібник з монтажу (16 сторінок), Посібник з монтажу (17 сторінок), Посібник з монтажу (20 сторінок), Посібник з монтажу (13 сторінок)
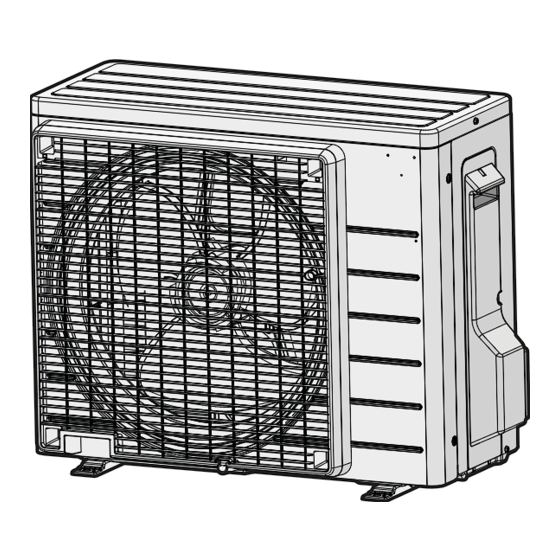
Daikin R32 Split Series Посібник з монтажу

8 Finishing the outdoor unit installation

c g e d f
DC+
DC-
a
h
a
Multimeter (DC voltage range)
b
S80 – reversing solenoid valve lead wire
c
S70 – fan motor lead wire
d
LED
e
S90 – thermistor lead wire
f
S20 – electronic expansion valve lead wire
g
S40 – thermal overload relay lead wire
h
DB1 - diode bridge
7.1
Specifications of standard wiring
components
Component
Power supply cable Voltage
Phase
Frequency
Wire sizes
Interconnection cable
(indoor↔outdoor)
Recommended circuit breaker
Residual current device
7.2
To connect the electrical wiring to
the outdoor unit
1 Remove the service cover.
2 Open the wire clamp.
3 Connect the interconnection cable and power supply as follows:
a
a
Interconnection cable
b
Power supply cable
c
Circuit breaker
d
Residual current device
e
Power supply
f
Earth
Installation manual
12
b
220~240 V
1~
50 Hz
3-core cable
2(a)(b)
2(b)
2.5 mm
/ 4.0 mm
(a)
H05RN-F (60245 IEC 57)
(b)
H07RN-F (60245 IEC 66)
4-core cable
2
2
1.5 mm
~2.5 mm
and
applicable for 220~240 V
H05RN-F (60245 IEC 57)
16 A
MUST comply with
applicable legislation
50 Hz
c
d
220-240 V
b
e
f
4 Tighten the terminal screws securely. We recommend using a
Phillips screwdriver.
8
Finishing the outdoor unit
installation
8.1
To finish the outdoor unit
installation
DANGER: RISK OF ELECTROCUTION
▪ Make sure that the system is earthed properly.
▪ Turn off the power supply before servicing.
▪ Install the switch box cover before turning on the power
supply.
1 Insulate and fix the refrigerant piping and cables as follows:
d
c
a
e
b
f
g
a
Gas pipe
b
Gas pipe insulation
c
Interconnection cable
d
Field wiring (if applicable)
e
Liquid pipe
f
Liquid pipe insulation
g
Finishing tape
2 Install the service cover.
9

Configuration

9.1

Facility setting

Use this function for cooling at low outdoor temperature. This
function is designed for facilities such as equipment of computer
rooms. NEVER use in a residence or office where people occupy the
space.
9.1.1

To set the facility mode

When cutting jumper J6 on the PCB, the operation range will expand
to –15°C. The facility mode will stop if the outdoor temperature drops
below –20°C and resume when the temperature rises again.
RXTM-R_RXTP-R_ARXTP-R_RXTA-B
R32 split series
3P482320-14U – 2021.03