3rdisecure IRIS 101 Kullanıcı Talimatları - Sayfa 14
Dijital Kamera 3rdisecure IRIS 101 için çevrimiçi göz atın veya pdf Kullanıcı Talimatları indirin. 3rdisecure IRIS 101 16 sayfaları.

OVERVIEW
While mounting the camera it is helpful to view live camera images to ensure the camera view
covers the desired area see Viewing Online Camera Images (page 5).
The battery must be fitted at all times for correct operation otherwise video images may not be
transmitted.
In the event of an interruption in the mains power supply the battery will power the camera for up to
5 hours standby and upto 1 hour transmission.
Check for network coverage – the yellow LED should be flashing when the camera is transmitting
either live video or alarm frames.
STAND MOUNTING
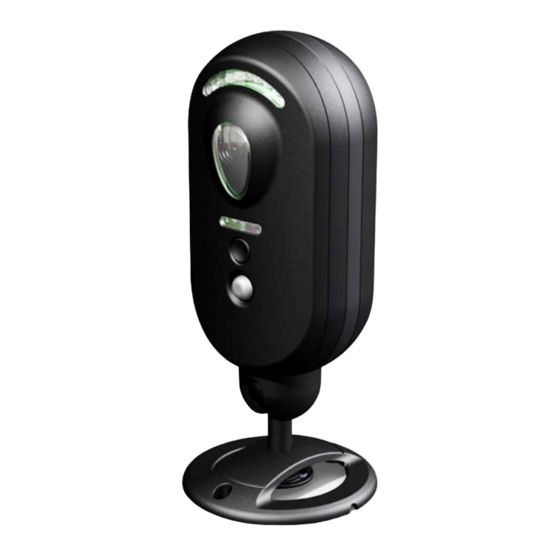
When positioning the camera bear in mind that the PIR (movement sensor) has an operational range of
approximately 5 metres and 70° angle of detection (Figure 3).
The camera is supplied with a 2.5 metre cable so a mains outlet socket must be within range
for the plug-in mains adaptor.
The camera can be used free standing or mounted permanently by the two fixing screws supplied.
WALL MOUNTING
When you have decided upon the location for the camera, using the fixing bracket as a template,
mark and drill holes in the mounting surface deep enough to accommodate the wall plugs and fixing
screws.
Secure the camera with the two fixing screws to the mounting surface (Figure 4).
For setup and technical assistance please go to www.3rdisecure.tv or call 01443 819328
Camera
illumination
light
PIR
Figure 3
FIXING
BRACKET
Figure 4
Page 14
FIXING
SCREWS
