AudioControl LC7i Manuel - Sayfa 3
Medya Dönüştürücü AudioControl LC7i için çevrimiçi göz atın veya pdf Manuel indirin. AudioControl LC7i 16 sayfaları. Six channel line output converter with accubass for interfacing with factory installed audio systems

and/or amplifier and connect them to the speaker-level inputs on
your LC7i. In many cases you can find factory speaker leads in the
rear of the vehicle or at the factory amplifier.
Note: If your source unit has front, rear, and subwoofer speaker-
level outputs, connect them to the three sets of inputs on your LC7i.
If the source unit only has front and rear outputs, the AutoMode
circuitry in your LC7i automatically routes the Channel 2 input
signal to the Channel 3 (subwoofer) input.
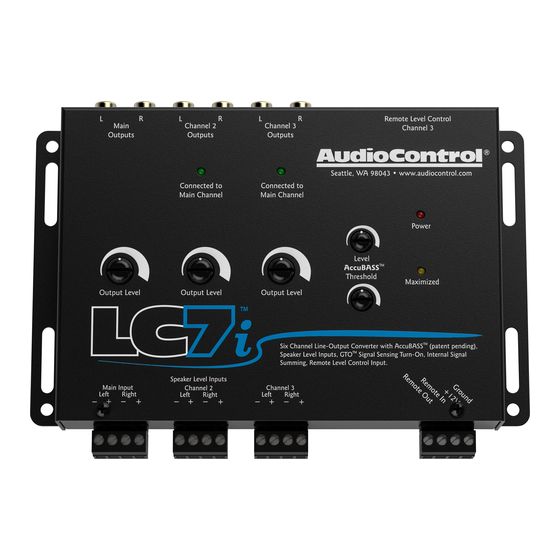
3. Use RCA cables to connect the RCA outputs of the LC7i to
your aftermarket amplifier(s). If the use of these connections are
not familiar to you, quickly pack up your LC7i and run to your
nearest authorized AudioControl dealer to have them perform the
installation. You will thank us later.
4. Connect +12V power and ground. Note: The LC7i does have a
12-volt remote input but in most systems the GTO™ circuit turns
the LC7i on automatically.
5. Connect the 12-volt remote output of the LC7i to your ampli-
fiers remote input.
6. Turn your amp gains fully down before turning on the system.
7. Turn on the system and level match your LC7i to your source
unit, signal processor and amplifiers. For more help on level
matching see our technical videos at http://www.audiocontrol.com
8. If your authorized AudioControl dealer installs your LC7i,
we will extend the normal one-year warranty to a full five years.
AudioControl products are, by nature, more technical than many
others and we spend a good deal of time training our dealers and
installers so we know our products will be installed correctly. We
do this so you will get the best possible results from your Audio-
Control purchases.
page 3
