HIKOKI WR27A Taşıma Talimatları Kılavuzu - Sayfa 3
Darbeli Sürücü HIKOKI WR27A için çevrimiçi göz atın veya pdf Taşıma Talimatları Kılavuzu indirin. HIKOKI WR27A 12 sayfaları.
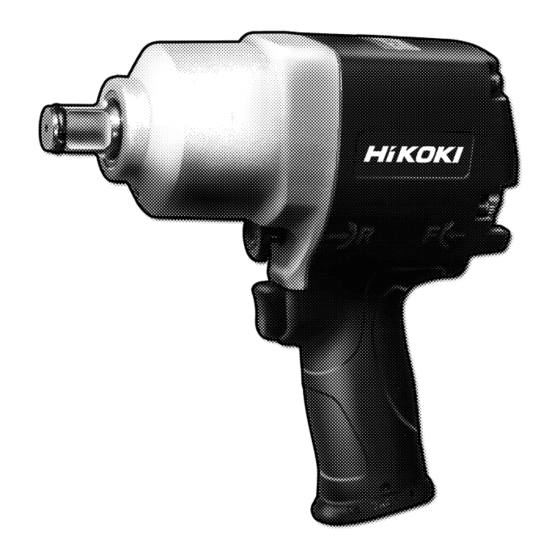
General
Before each use:
Always operate, inspect and maintain tool in accordance with all regulations (local, state,
●
federal and country), that may apply to hand held pneumatic tools.
Drain water from air compressor tank and condensation from air lines. See air
●
compressor's operation manual.
Disconnect the tool from the air supply before lubricating,
CAUTION
installing, removing or adjusting the tool.
Lubricate tool, see "Maintenance" section in this manual.
●
Select the required drilling bit depending on the material to be work on .
●
Connect tool to air hose of recommended size.
●
NOTE: The use of a quick connect set makes connecting easier.
IMPORTANT
The use of air filters and air line lubricators is recommended.
To use:
Turn air compressor on and allow air tank to fill.
●
Set the air compressor's regulator to 90 PSI (6.2 bars). This tool operates at a maximum 90 PSI
●
(6.2 bar) pressure.
For rotating tools, make sure the direction of rotation before operating tools.
●
Make sure the inserted tool is firmly secured by the chuck (drill/tappers), by the retainer
●
(hammers/needle scalers), by the bit holder (screwdrivers), by the collet (die grinders), by
the flange set (grinders), blade holder (saws) or firmly attached to the anvil (impact/ratchet
wrenches) or the pad (sanders/polishers).
Setting for the rotational direction, if any:
●
Pull the level/switch as it is marked on the tool.
「F」(Forward) - Clockwaise direction seen from the operator 's position.
◆
「R」(Reverse) - Counter-clockwaise direction seen from the operator's position.
◆
Note: For some tools, it may marked with the combination of 「L」and「R」. In this case,
「R」(right) indicates the forward direction and 「L」(Left) indicates the reverse
direction.
Setting for the rotating/reciprocating speed settings, if any:
● ●
by digits: greater number indicates a hight setting and vice versa.
◆
by symbols: greater size of the symbol indicates a hight setting and vice versa.
◆
Note: Always start operating with a lower setting.
Allow the tool to stop completely before changing the direction of rotation.
●
To Start or Stop
●
The tool equips with a hold -to-run trigger/level. Pull the trigger (or press down the lever) to
start the tool. The tool will stop running when t he trigger/lever is released.
Note: For certain kinds of air tools, it might take some seconds for the tool to stop
completely because of the inertia.
OPERATION INSTRUCTION