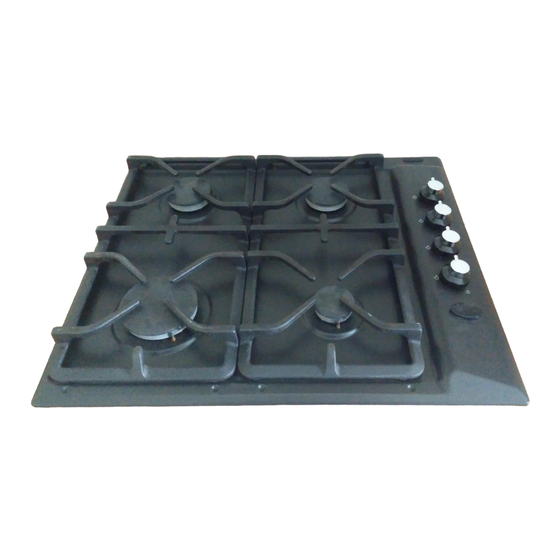
IKEA DATID HGA4K Kullanıcı Kılavuzu - Sayfa 7
Hob IKEA DATID HGA4K için çevrimiçi göz atın veya pdf Kullanıcı Kılavuzu indirin. IKEA DATID HGA4K 16 sayfaları. Lagan
Ayrıca IKEA DATID HGA4K için: Talimatlar (4 sayfalar), Manuel (24 sayfalar), Montaj Talimatları Kılavuzu (20 sayfalar), Manuel (12 sayfalar)

ENGLISH
The bottom of the cookware should be as thick
and flat as possible.
Care and cleaning
Warning! Switch the appliance off and
let it cool down before you clean it.
Warning! For safety reasons, do not
clean the appliance with steam blasters
or high-pressure cleaners.
Warning! Do not use abrasive cleaners,
steel wool pads or acids, they will
damage the appliance.
To remove any food remains wash the enam-
elled elements, "caps" and "crowns", with
warm soapy water.
Stainless steel elements wash with water, and
then dry with a soft cloth.
What to do if...
Problem
There is no spark when light-
ing the gas
The flame is blowing out im-
mediately after lightning
The gas ring burns unevenly
If there is a fault, first try to find a solution to
the problem yourself. If you cannot find a sol-
ution to the problem yourself, contact your
dealer or the After Sales Service.
This model is equipped with electrical ignition,
it is obtained through ceramic "candle" and
electrode.
Keep them well clean to avoid difficult light-
ning.
pipe and the pressure adjuster, if it is fitted (this
service is not free of charge).
After cleaning, be sure to wipe dry with a soft
cloth.
Possible cause
There is no electrical supply
Burner cap and Crown are
placed uneven
Thermocouple is not heated
enough
Burner crown is blocked with
food residues
registered engineer, the visit from the customer
service technician or dealer may not take
place free of charge, even during the warranty
period.
Periodically ask your local Service Centre
to check the conditions of the gas supply
Check that the unit is plugged
in and the electrical supply is
switched on.
Check the house electric in-
stallation fuse.
Check the burner cap and
crown have been replaced
correctly, e.g. after cleaning.
After lightning the flame, keep
the knob pushed for about 5
sec.
Check the main injector is not
blocked and the burner crown
is clear of food particles.
If you operated the appliance wrongly, or
the installation was not carried out by a
Remedy
7
