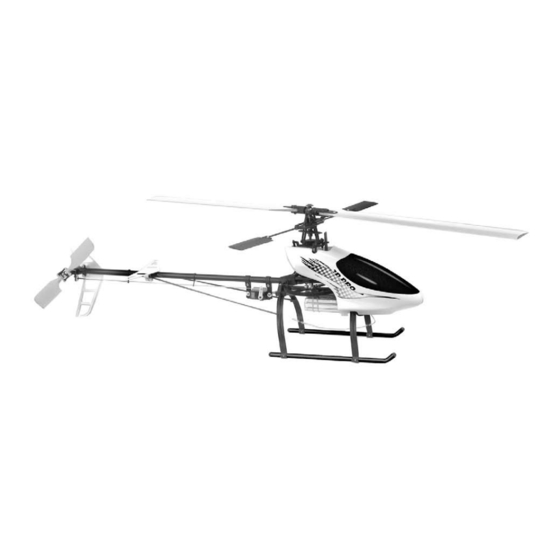
Century Helicopter Products Hummingbird Elite 3D Pro Montaj ve Kullanım Kılavuzu - Sayfa 3
Oyuncak Century Helicopter Products Hummingbird Elite 3D Pro için çevrimiçi göz atın veya pdf Montaj ve Kullanım Kılavuzu indirin. Century Helicopter Products Hummingbird Elite 3D Pro 12 sayfaları.
Ayrıca Century Helicopter Products Hummingbird Elite 3D Pro için: Kullanım Kılavuzu (10 sayfalar)

Section 1: Mast Tower Assembly
Bags Used:
CNE309, CNE310, CNE312, CNE216
Mast Tower Assembly (1-1)
1) Place the
Mast Tower
CNE309 on top of the CNE312
align until the
Mast Tower
2) Secure the
Mast Tower
with the supplied
CNE309 parts bag.
3) Identify the
Motor Mount
with CNE310 and slip it over the
The
should touch the lower tab of the
Motor Mount
the
Tail Boom Brace Bracket
Secure the
Tail Boom Brace Bracket
Machine Screws
(4X).
4) Open parts bag CNE216
Antirotation Bracket
Tower, facing forward, towards the
Place this assembly aside for now, we will return to it later.
Section 2: Lower Frame Plate Assembly
Bags Used:
CNE311, CNE320, CNE310
Lower Frame Plate Assembly (2-1)
Get parts bag CNE311
Lower Frame
remaining
Frame Holders
in parts bag CNE310.
5) Slip the
Battery Holders
on from the left side of the
6) Slip the
Radio Tray
onto the
ing Slots
and the
Rear Lower Bracket
Place this assembly aside for now, we will get back to it later.
Section 3: Tail Boom & Drive Shaft Assembly
Bags Used:
CNE316, CNE315, CNE305
Tail Boom & Drive Shaft Assembly (3-1, 3-2)
Get parts bag CNE316 Tail boom, push rod and guides, CNE315 Tail drive shaft set and CNE305 Tail drive
shaft gears.
7) Get the
Tail Drive Shaft Bearing
(Optional) around the race of the bearing, coat the rubber o-ring on the outside of the
Bearing
with a film of liquid soap, so it can easily be pushed inside the center of the
wooden dowel
to insert the
Tail Boom #CNE316
3-1
Tail Boom & Drive Shaft Assembly (Fig. 3-2)
8) Using the mast tower assembly from step 4 insert the slotted
side of the
into the
Tail Boom
until slots on the
Tail Boom
Boom Brace
Bracket. Secure the
M3x3 Set Screws
found in the parts bag CNE310 (screw bag).
Upper Frame Plate
to match the bolt pattern of the
M2x5 Machine Screws (3X)
Mast
over the opposite end of the
and
Motor Mount
with the supplied
and place it on top of the
Motor
Mount.
Plate, CNE320
Battery Holders
Lower Frame
Lower Frame Plate
closest to the
on the opposite side.
inside CNE315 parts bag. Drop a small amount of Tri-flow CN2024T
Tail Drive Shaft Bearing
in the center of the
Tail Drive Shaft Bearing
#CNE315
Bracket. Twist
Tail Boom Brace
fit snugly in place inside the
Tail Boom
with the supplied
and
Upper Frame
Plate.
found in
Upper Frame
Plate.
Tower. Then install
M2x8 Machine
Upper Frame
Plate.
Screws (2)
#CNE310
M2x8
Mast
2-1
and the
Plate.
Motor Mount-
Tail
Tail
Boom.
3-2
Tail
M3x3 Set Screws
Bearing #CNE213
(Between bracket
& tower)
1-1
Mast Tower
#CNE309
Upper Frame
Plate #CNE312
Tail Boom
Bearing
Brace Bracket
#CNE213
#CNE310
Battery
Holders
#CNE320
Motor
Mounting
Slots
Radio Tray
FRONT
#CNE310
Tail Drive Shaft
Boom. Use a
Wooden dowel
Tail Boom
Brace Bracket
#CNE310
Tail Boom
(Slotted End)
(2) #CNE310
#CNE316
Swashplate
Antirotation
Bracket
#CNE216
M2x5 Machine
Screws (3)
#CNE309
M2x8 Machine
Screws (2)
#CNE310
Motor Mount
#CNE310
Flanged
Lower
Ball Bearing
Frame Plate
#CNE213F
#CNE311
Rear Lower
REAR
Bracket
#CNE310
3
