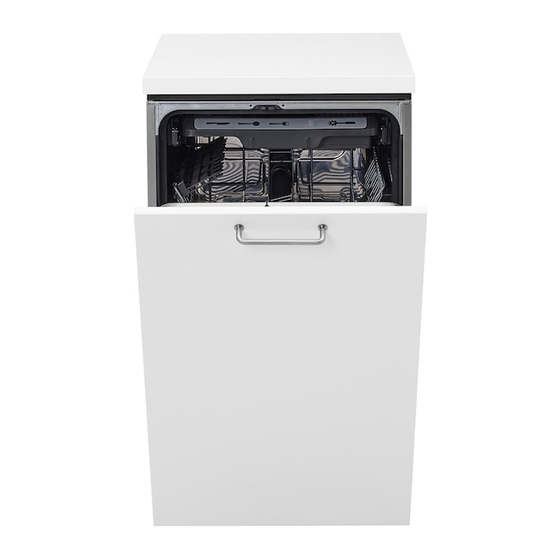
IKEA IUD9500WX2 Kurulum Talimatları Kılavuzu - Sayfa 13
Bulaşık Makinesi IKEA IUD9500WX2 için çevrimiçi göz atın veya pdf Kurulum Talimatları Kılavuzu indirin. IKEA IUD9500WX2 44 sayfaları. Undercounter dishwasher plastic giant tub models
Ayrıca IKEA IUD9500WX2 için: Kullanıcı Talimatları (25 sayfalar)

IMPORTANT: Do not scratch the front panel during this
procedure.
1. Remove the door handle and hardware bag containing the
setscrews and Allen wrench from the cardboard box.
2. Start setscrews in handle.
3. Place handle on mounting studs with the setscrews facing
down.
4=
Push the door handle tightly against the door. Insert the short
end of the Allen wrench into the setscrews. Tighten the
setscrews 1/4 turn past snug. Retain Allen wrench with
Installation Instructions.
A
A. Mounting stud
B. Door handle
C. Setscrew (inside of door handle standoff)
D. Allen wrench
IMPORTANT: You need to know what control panel is on your
dishwasher before you order your custom door panel.
For dishwashers
with the control panel shown below:
(Model IUD9500W)
/"
Cycles
Options
@_w
@No_m_ @ C_I_U_U
@_
@.... H4g_ @_t_
_at_D_y @4H°_D_I_y @'_ @_d
Loo_@_ _,_o,@TAm
aA_C_L@
(Your model may vary sightly from the picture above.)
Custom door panel dimensions
(59.7crn)
30 3/16"
*This dimension is for 4" (10.2 cm) toe kick. If the installation
needs a higher toe kick, adjust the height of the wood panel
accordingly. Not recommended
for toe kicks greater than 6"
(15.2 cm).
.....
,,.,.,_,_;::_0_
_ _ _,_ .............
For model IUD9500W
NOTE: The handle for the custom panel is not included.
IMPORTANT: If the handle is attached from the back of the
custom panel, the screw holes should be countersunk
for the
screws heads to be flush with the panel. If the handle is attached
to the front of the custom panel, the screw lengths cannot exceed
the panel thickness.
NOTES:
A customer-supplied
full front panel must weigh no more than
16 pounds (7.3 kg) and must be made to specific dimensions.
It is recommended
that a cabinetmaker cut the custom panel
because of the precise dimensions needed.
All mounting hardware supplied is for a 3/4"(19.1 mm) thick
wood panel. If a thinner wood panel, or materials other than
wood are used, it is the consumer's responsibility to obtain the
proper length screws and adjust the pilot holes accordingly.
IMPORTANT: Use a moisture resistant sealer on both sides and
all edges of the panel to avoid damage from humidity.
1. With a TORX@screwdriver, remove three screws from both
sides, as shown; hold the outer panel up while removing the
screws. Save screws for reinstallation.
*This dimension is for 4" (10.2 cm) toe kick. If the installation
needs a higher toe kick, adjust the height of the wood panel
accordingly. Not recommended
for toe kicks greater than 6"
(15.2 cm).
13
