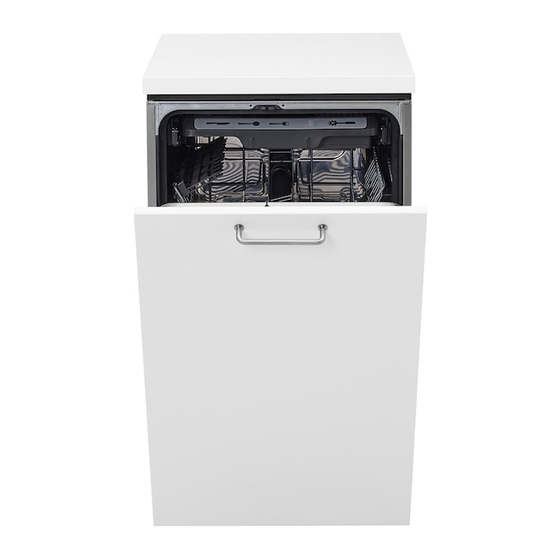
IKEA IUD9500WX2 Kurulum Talimatları Kılavuzu - Sayfa 15
Bulaşık Makinesi IKEA IUD9500WX2 için çevrimiçi göz atın veya pdf Kurulum Talimatları Kılavuzu indirin. IKEA IUD9500WX2 44 sayfaları. Undercounter dishwasher plastic giant tub models
Ayrıca IKEA IUD9500WX2 için: Kullanıcı Talimatları (25 sayfalar)

NOTE: Do not attach the dishwasher. This will be done later.
A. Brackets
Option
2: Dishwasher
Side Attachment
(for marble, granite or other hard surface countertops)
1. To remove the brackets from the top, flatten tab at back of
brackets with pliers, and pull the brackets out of the slots.
2.
A
A. Tabs
Break off the end of the bracket along the scored line.
3.
'A
A. Score
line
With another person holding the rear of the dishwasher to
keep it from tipping, open dishwasher door and place towel
over pump assembly and spray arm of dishwasher. This will
keep screws from falling into pump area when securing
dishwasher to cabinet.
4. Push the plastic buttons out of the side of the tub.
NOTE: Save the buttons to cover the holes after dishwasher is
installed.
\
\
5=
A. Plastic button
Push bracket into slot on the side of dishwasher, and bend tab
in towards the side of the dishwasher so that it keeps the
bracket in place. Repeat this step for the other side of the
dishwasher.
NOTE: Do not attach the dishwasher. This will be done later.
A. Bend
tabs
Check Door Spring Tension
1. With another person holding the rear of the dishwasher to
keep it from tipping, open and close the door a few times. If
the door closes or falls open under its own weight, the door
tension will need to be adjusted.
2. To adjust the door spring tension, unhook the spring from the
rear leg of dishwasher.
3. With a 5/le" nut driver or hex socket, remove the screw from
the tensioner.
4=
The screw can be put into one of three holes C, D or E, in the
front leg of dishwasher. If the door closes by itself, move the
tensioner to a higher number hole and replace screw. When
door is unlatched, if it opens by itself, move tensioner to a
lower numbered hole and replace screw.
15
