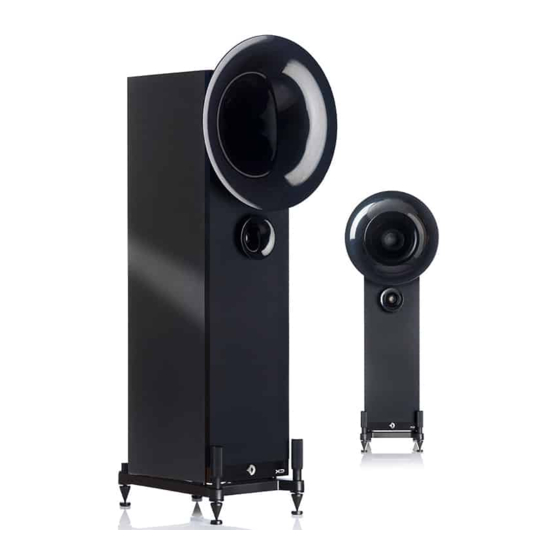
Avantgarde DUO GT Kullanıcı Kılavuzu - Sayfa 7
Konuşmacılar Avantgarde DUO GT için çevrimiçi göz atın veya pdf Kullanıcı Kılavuzu indirin. Avantgarde DUO GT 19 sayfaları.

HEIGHT ADJUSTMENT OF FEET
UNO SD, DUO SD & DUO GT
The loudspeaker stands on 4 x rotatable base frame arms �. On de‐
livery, standard feet with Teflon glides � are installed.
3
1
After the final installation of the speaker, adjust the height of the
feet by turning the handle � clockwise to level the speaker.
2
1
OPTIONAL SPIKE
UNO SD, DUO SD & DUO GT
Alternatively, the optional spikes � can be installed instead of the
standard feet �. For this work, we strongly recommend the assi‐
3
stance of a second person!
1
4
One person carefully tilts the speaker backwards. The front two feet
1
5
will float in the air.
2
1
The second person can now unscrew the standard feet � by turning
2
1 6
them counterclockwise using the tool �.
1 7
3
If desired, screw in the lock nuts � using the tool � to fix the height
adjustment of the spikes.
4
Screw in the spikes � clockwise with the help of the tool. If necessa‐
ry, use the protective washers � to protect sensitive floors from da‐
mage.
5
After mounting the front spikes �, now carefully tilt the speaker for‐
ward and replace the rear feet accordingly.
6
After the speaker is finally set up, adjust the height by turning the
handle � clockwise to level the speaker.
7
Firmly tighten the lock nuts � to fix the height adjustment.
ANGLE ADJUSTMENT OF FEET
UNO SD, DUO SD & DUO GT
On delivery, the 4 x rotatable base frame arms � are mounted on
the loudspeaker at a 45 degree angle.
1
The angle of the arms � can be adjusted in 7.5 degree steps by the
precision Hirth toothing. For this work, we strongly recommend the
assistance of a second person!
One person carefully tilts the speaker backwards. The front two feet
1
1
will then float in the air.
The second person can now loosen the mounting screw � of the
2
Hirth gear and turn the base frame arms � to the desired position.
8
1 2
3
Tighten the mounting screw � again.
After adjusting the angle of the front foot stand booms, now care‐
4
fully tilt the speaker forward and adjust the rear base frame arms �
accordingly.
12
13
