Lexmark 25A0452 - C 736dtn Color Laser Printer Bağlantı Kılavuzu

Yazıcı Lexmark 25A0452 - C 736dtn Color Laser Printer için çevrimiçi göz atın veya pdf Bağlantı Kılavuzu indirin. Lexmark 25A0452 - C 736dtn Color Laser Printer 5 sayfaları. Color laser printers
Ayrıca Lexmark 25A0452 - C 736dtn Color Laser Printer için: Tepsi Modülü Kurulum Kılavuzu (1 sayfalar), Tepsi Modülü Kurulum Kılavuzu (2 sayfalar), Hızlı Referans (2 sayfalar), Baskı Kılavuzu (3 sayfalar), Broşür ve Teknik Özellikler (6 sayfalar), Yazdırma Kılavuzu (9 sayfalar), Medya El Kitabı (3 sayfalar), Menü Haritası (3 sayfalar), Sarf Malzemeleri Kılavuzu (2 sayfalar), Kurulum (2 sayfalar), Bilgi Kılavuzu (1 sayfalar), Hızlı Kılavuz (4 sayfalar)
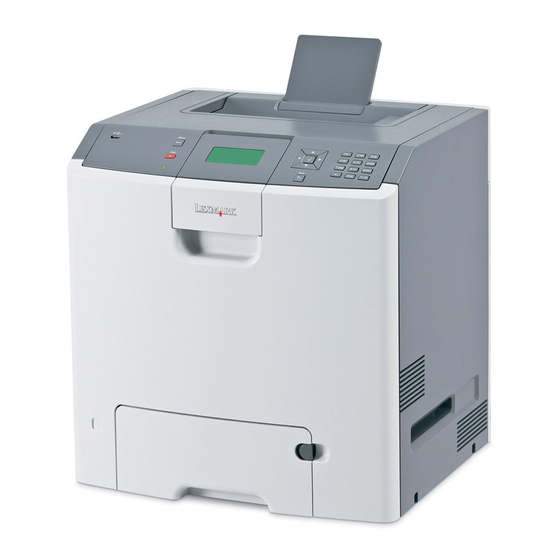
Lexmark 25A0452 - C 736dtn Color Laser Printer Bağlantı Kılavuzu
Connection Guide
Windows instructions for a locally attached printer
Note: When installing a locally attached printer, if the operating system is not supported by the Software and
Documentation CD, then the Add Printer Wizard must be used.
Updates for the printer software may be available on the Lexmark Web site at www.lexmark.com.
What is local printing?
Local printing is printing to a locally attached printer (a printer that is connected directly to your computer with a USB cable).
When setting up this type of printer, you should install the printer software before connecting the USB cable. For more
information, see the setup documentation that came with the printer.
The Software and Documentation CD can be used to install the necessary printer software on most Windows operating systems.
Installing software using the CD
Using the Software and Documentation CD, you can install printer software for the following operating systems:
Windows Vista and Windows Vista x64 bit Edition
Windows Server 2003 and Windows Server 2003 x64
Windows XP and Windows XP x64 bit Edition
Windows 2000
Mac OS X
Linux Redhat, SUSE, Linspire, Debian GNU, Linpus, Red Flag and Ubuntu
1
Insert the Software and Documentation CD.
If the install screen does not appear, click Start
or DVD drive.
2
Select Install Printer and Software.
3
Select Suggested, and then click Next.
4
Select Local Attach, and then click Next. The printer software is copied to your computer.
5
Connect the USB or parallel cable, and then turn on the printer.
The Plug and Play screen appears, and a printer object is created in the Printers folder.
Installing software using the Add Printer Wizard
You can install printer software for Windows operating systems.
1
Insert the Software and Documentation CD.
If the CD automatically starts, click Exit.
2
Click Start
Settings
3
When prompted, select to install a local printer, and then click Have Disk.
4
Specify the location of the printer software. The path should be similar to D:\Drivers\Print\Win_9xMe\, where D is the letter
of your CD or DVD drive.
5
Click OK.
Run, and then type D:\setup.exe, where D is the letter of your CD
Printers, and then click Add Printer to start the Add Printer Wizard.
Connection Guide
Page 1 of 5