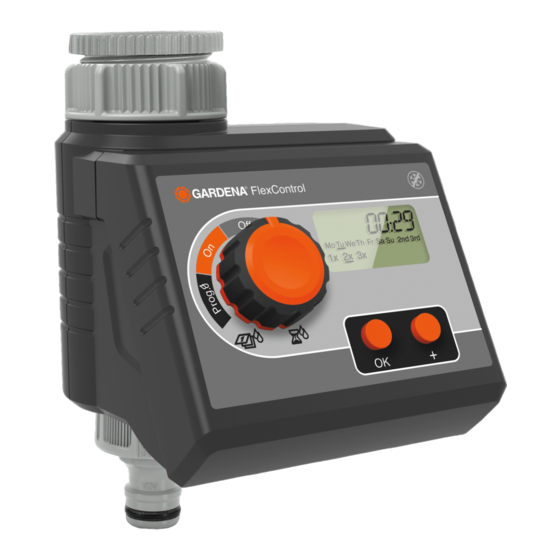
Gardena FlexControl 1883 Çalıştırma Talimatları Kılavuzu - Sayfa 7
Çim ve Bahçe Ekipmanları Gardena FlexControl 1883 için çevrimiçi göz atın veya pdf Çalıştırma Talimatları Kılavuzu indirin. Gardena FlexControl 1883 19 sayfaları. Water computer

3. PUTTING YOUR WATER COMPUTER INTO OPERATION
Insert battery [ Fig. I1 / I2 ]:
The Water Computer must only be operated with
a 9V alkalimanganese (alkaline) battery type IEC
6LR61.
q
1. Remove controller
Water Computer.
2. Insert battery in the battery compartment
Observe correct polarity
The display shows all LCD symbols for 2 seconds
(see 4. PROGRAMMING).
q
3. Install controller
on the housing again.
Connect Water Computer [ Fig. I3 / M1 ]:
The Water Computer is fitted with a sleeve nut
for taps with (G 1") (33.3 mm) thread. The adaptor
e
supplied
allows the Water Computer to be con-
nected to taps with a (G ³⁄₄") thread (26.5 mm).
v Insert the filter
r
into the sleeve nut
nect the water computer to the tap.
from the housing of the
w
.
N
.
t
t
and con-
Connect soil moisture or rain sensor (optional)
[ Fig. I4 ]:
Apart from scheduled watering there is also the
option of including how damp the soil is or rainfall
into the watering programme.
Note:
If the soil is damp enough, the programme will be
stopped, or a programme will be prevented from
starting. Manual operation is possible at all times.
q
1. Remove controller
the Water Computer (see 3. PUTTING YOUR
WATER COMPUTER INTO OPERATION
"Insert battery").
2. Place soil moisture sensor in the watered area
– or – place rain sensor (with extension cable if
necessary) outside the watered area.
3. Run the sensor cable
the housing.
4. Disconnect the cover
z
cable plug
into the sensor connection
the water computer.
It can take up to 1 min. until the status of the
sensor is shown on the display.
from the housing of
z
through the opening of
u
and insert the sensor
i
of
21
