Gardena 879 Kullanım Talimatları Kılavuzu - Sayfa 7
Boya Püskürtücü Gardena 879 için çevrimiçi göz atın veya pdf Kullanım Talimatları Kılavuzu indirin. Gardena 879 9 sayfaları. 3l/5l
5. Cleaning
Cleaning the Pressure
Sprayer :
6. Trouble-Shooting
Cleaning the filter :
3
W
Problem
Pump does not build up
pressure.
Pressure Sprayer does not
spray although there is
sufficient pressure or only
sprays with a weak spray jet.
It is difficult to open and
close the container.
If you have any other problems with your Pressure Sprayer please contact GARDENA Customer
Service.
Always clean your Pressure Sprayer after spraying.
v Fill the Pressure Sprayer with clean water (the water may
contain some washing-up liquid if necessary) and empty out
the water by spraying it through the spray tube in the same
way as when spraying a product.
This cleans the valves, the spray tube and the nozzles.
We recommend that you have your Pressure Sprayer thoroughly
inspected (preferably at a GARDENA Service Centre) after
using it for 5 years.
If the spray jet from the Pressure Sprayer is very weak you
should clean the filter in the container.
Pressure Sprayer Art. No. 867 / 869
1. Unscrew the container cap.
2. Flip up the filter
7
3. Close the filter
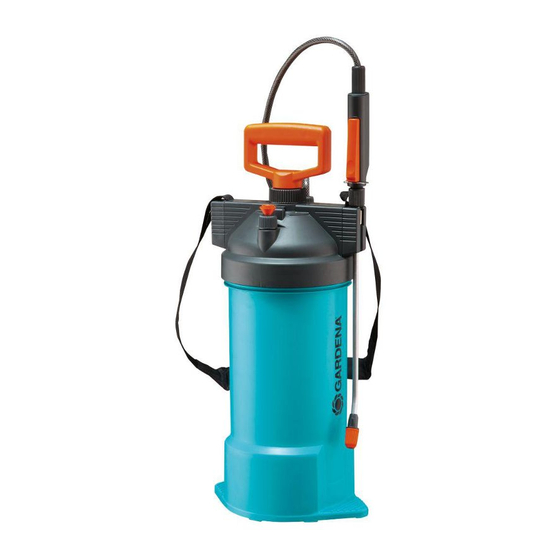
Pressure Sprayer Art. No. 875 / 879 / 880
Remove the filter
Possible Cause
Container cap is not airtight.
Safety valve is loose.
Hose connection at the container v Tighten the hose connec-
and hand valve is not tight.
Continuous lock enabled on
handle.
Nozzle is blocked.
Filter is blocked.
Container pressure too high.
7
and rinse under running water.
7
and screw the container cap back on.
W
from the spray tube
Remedy
v Fasten the container cap
as tight as it will go
(Art. 867 / 869).
v Tighten the safety valve.
tions at the container and
hand valve.
v Take off the permanent lock
at the hand valve.
v Clean the nozzle.
v Clean the filter in the
container (Art. 867/ 869).
Clean the filter in the spray
tube (Art. 875 / 879 / 880).
v Release the container pres-
sure completely by means
of the safety valve.
Grease the container O-ring
with acid-free grease
(Art. 867/ 869).
3
and clean it.
15