Brother Business Smart MFC-J4510dw Hızlı Başlangıç Kılavuzu - Sayfa 5

Yazdırma Sunucusu Brother Business Smart MFC-J4510dw için çevrimiçi göz atın veya pdf Hızlı Başlangıç Kılavuzu indirin. Brother Business Smart MFC-J4510dw 29 sayfaları. Quick setup guide - spanish
Ayrıca Brother Business Smart MFC-J4510dw için: Manuel (36 sayfalar), Manuel (22 sayfalar), Ürün Güvenlik Kılavuzu (17 sayfalar), Manuel (13 sayfalar), Manuel (22 sayfalar), Hızlı Kurulum Kılavuzu (47 sayfalar), Manuel (18 sayfalar), Hızlı Kurulum Kılavuzu (47 sayfalar), Broşür ve Teknik Özellikler (4 sayfalar), Ürün Güvenlik Kılavuzu (20 sayfalar), Teknik Özellikler (2 sayfalar), Hızlı Kurulum Kılavuzu (47 sayfalar), Ürün Güvenlik Kılavuzu (25 sayfalar), (İspanyolca) Guia De Web Connect Kılavuzu (38 sayfalar), (İspanyolca) El Kitabı (24 sayfalar), (İngilizce) Ürün Güvenlik Kılavuzu (16 sayfalar), (İspanyolca) El Kitabı (11 sayfalar), (İngilizce) Hızlı Yapılandırma Kılavuzu (47 sayfalar)
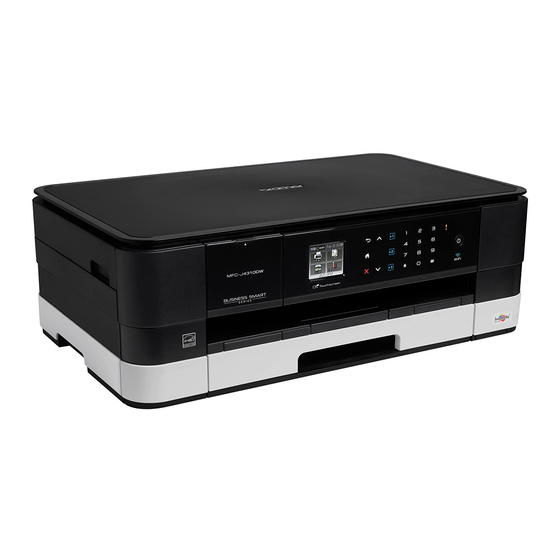
Brother Business Smart MFC-J4510dw Hızlı Başlangıç Kılavuzu
4

Install the ink cartridges

CAUTION
If ink gets in your eyes, wash it out with water at
once and call a doctor if you are concerned.
NOTE
Make sure you install the Introductory Ink
Cartridges included with your machine first.
a
Make sure that the power is turned on.
NOTE
You can adjust the angle of the control panel by
lifting it. When lowering the control panel, make
sure you push the release button a that is
located behind the mark.
b
Open the ink cartridge cover a.
c
Remove the orange protective part.
d
1
IMPORTANT
• DO NOT shake the ink cartridges. If ink stains
• DO NOT touch the cartridge in the area
e
f
1
NOTE
The machine will prepare the ink tube system for
printing. This process will take approximately four
minutes. Do not turn off the machine.
Unpack the ink cartridge.
Turn the green release lever on the orange
protective packing a counterclockwise until it
clicks to release the vacuum seal. Then
remove the orange protective packing a as
shown.
2
your skin or clothing, wash with soap or
detergent at once.
indicated b, as this can cause the machine not
to function with the cartridge.
Take care to match the sticker colour with the
cartridge colour.
Install each ink cartridge in the direction of the
arrow on the label.
Gently push the back of the ink cartridge
marked "PUSH" until the cartridge lever lifts.
After all the ink cartridges are installed close
the ink cartridge cover.
2
1
1
5