Fujitsu ETERNUS DX60 S2 Kullanıcı Kılavuzu - Sayfa 10

Depolama Fujitsu ETERNUS DX60 S2 için çevrimiçi göz atın veya pdf Kullanıcı Kılavuzu indirin. Fujitsu ETERNUS DX60 S2 14 sayfaları. Server connection. (fibre channel) for aix
Ayrıca Fujitsu ETERNUS DX60 S2 için: Kullanıcı Kılavuzu (35 sayfalar), Kullanıcı Kılavuzu (42 sayfalar), Yapılandırma Kılavuzu (28 sayfalar), Yapılandırma Kılavuzu (16 sayfalar), Yapılandırma Kılavuzu (38 sayfalar), Donanım ve Yazılım Kurulum Kılavuzu (36 sayfalar)
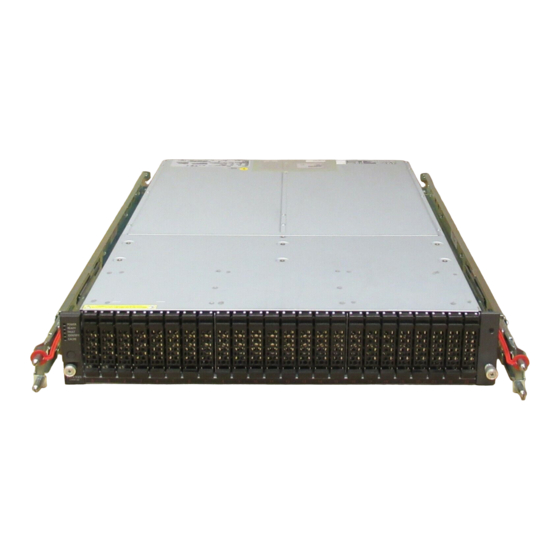
Fujitsu ETERNUS DX60 S2 Kullanıcı Kılavuzu
MiniSAS Cables
When the drive enclosure is installed, connect the DI (OUT) port of the controller enclosure to the DI (IN)
port of the drive enclosure with the miniSAS cable.
Cable
Underside of the DI (OUT)
side plug
The "
" symbol is
indented here.
Underside of the DI (IN)
side plug
The "
" symbol is
indented here.
-Installation- "4.3 Drive Enclosure Connection"

Power Cords

Connect the power cords to the inlets of the power supply unit.
Use release ties to hold the power cords in place.
Cable
-Installation- "4.5 Power Cord Connection"
FUJITSU Storage ETERNUS DX60 S2 Disk storage system Read Me First
Rear view
DI (IN) port
DI (OUT) port
Rear view
10
Copyright 2014 FUJITSU LIMITED
Plug the connectors with the "
into the DI (IN) ports of the drive enclosure.
Plug the connectors with the "
into the DI (OUT) ports of the controller enclosure.
" symbol indented on them
Drive
Enclosure
Controller
Enclosure
" symbol indented on them
Drive
Enclosure
Controller
Enclosure
P3AM-5542-07EN