Dell PowerVault TL4000 Başlarken - Sayfa 24

Depolama Dell PowerVault TL4000 için çevrimiçi göz atın veya pdf Başlarken indirin. Dell PowerVault TL4000 38 sayfaları. Tape library
Ayrıca Dell PowerVault TL4000 için: Sürüm Notları (3 sayfalar), SSS (26 sayfalar), Hızlı Başlangıç Kılavuzu (7 sayfalar), Yazılım Kılavuzu (16 sayfalar), Yapılandırma Kılavuzu (22 sayfalar), Önemli Bilgiler Kılavuzu (10 sayfalar), Kullanıcı Kılavuzu Eki (2 sayfalar), Başlangıç Kılavuzu (3 sayfalar), Ek Talimatları (17 sayfalar), Broşür (4 sayfalar), Kullanıcı Kılavuzu (20 sayfalar)
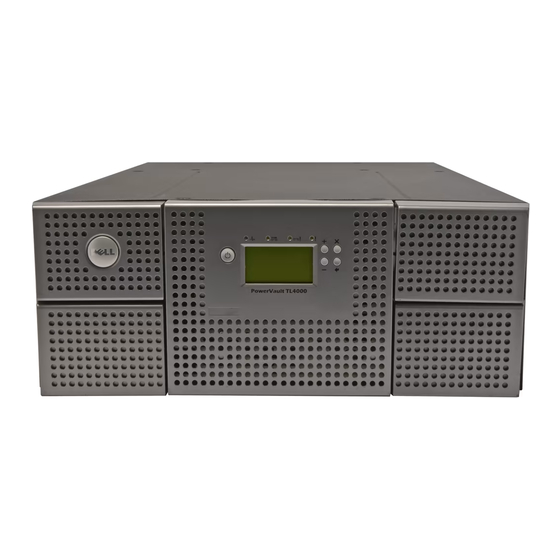
Dell PowerVault TL4000 Başlarken
10. Power cycle the library to initialize your configuration.

Logging on to the Web User Interface

To complete the configuration of your library using the Web User Interface, follow
the steps below.
1. On your host computer, open Internet Explorer.
2. In the browser address field, enter your library's IP Address.
3. When the login screen appears, enter the following:
Figure 1-16. Log in screen on the Web User Interface

Choosing the Number of Logical Libraries for Your Library

If you have a 2U or 4U library with only one drive, or do not wish to partition
your library, proceed to the next section, "Choosing Library Settings" on page 1-15.
One cartridge magazine cannot be assigned to two logical libraries. If you partition
a multi-drive library, each of the magazines must be assigned to a logical library
on a magazine boundary. The entire magazine must be part of one logical library
only.
Note: If you have a 2U library with two drives, you have the capability to have
1-14
Getting Started with the Dell PowerVault TL2000 and TL4000 Tape Libraries
a. Press the SELECT button to highlight the Gateway field.
b. Press the UP or DOWN button to select the digit(s) in your library's
Gateway address.
c. Press the SELECT button to highlight the digit(s) in your library's Gateway
address.
d. After entering the final digits in your Gateway address, press the DOWN
button and select one of the following:
v Save - to save your network settings.
v Cancel - to cancel all of your entries and leave the settings as they were.
7. Press the SELECT button to return to the Configure menu.
8. Press the CANCEL button to return to the Main menu.
9. Press the CANCEL button to return to the home screen.
v Username: admin
v Password: secure
If you have a library with only one drive, proceed to the section, "Choosing
Library Settings" on page 1-15
two logical libraries.