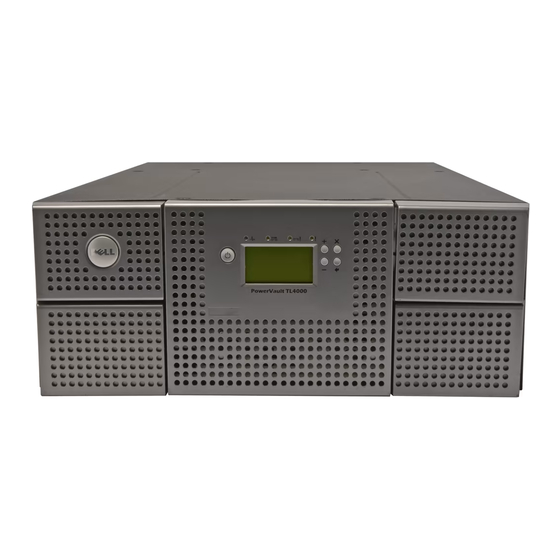
Configuring Your Library
The library can be configured using the Operator Control Panel and/or the Web
User Interface. The recommended method for configuring your library is using the
Web User Interface.
To configure your library, you will be using the Operator Control Panel and/or the
Web User Interface. Static library network settings must be entered using the
Operator Control Panel before the library can be accessed remotely using the Web
User Interface. If your system is serviced by DHCP (Dynamic Host Configuration
Protocol) server, the network parameters will be automatically set. Once remote
access has been established, you can complete the configuration of your library.
Accessing the Configure Menu using the Operator Control
Panel
1. Press the UP button to display the Main menu.
2. Press the DOWN button to select Configure.
3. Press the SELECT button to display the Configure menu.
Entering Network Settings using the Operator Control Panel
If you would like to use DHCP (Dynamic Host Configuration Protocol ) as your
library network setting, complete Steps 1, 2, 3, and 7. If you do not want to use
DHCP as your library network setting, complete Steps 1, 2, 4, 5, 6, and 7.
1. Press the DOWN button to highlight the Network menu.
2. Press the SELECT button to display the Network screen.
3. If you do not want to select DHCP as your library network setting, skip this
step and proceed to the next step. If you want to select DHCP as your library
network setting, complete the following steps:
a. Press the SELECT button to highlight the DHCP field.
b. Press the DOWN button to select ON.
c. Press the SELECT button to apply your selection.
d. Skip to Step 7.
4. Press the DOWN button to select IP Address.
a. Press the SELECT button to highlight the IP Address field.
b. Press the UP or DOWN button to select the digit(s) of your library's IP
Address.
c. Press the SELECT button to highlight the next digit(s) in your IP Address.
d. After entering the final digits, press the SELECT button to apply your
entries.
5. Press the DOWN button to select Netmask.
a. Press the SELECT button to highlight the Netmask field.
b. Press the UP or DOWN button to select the digit(s) in your library's
Netmask address.
c. Press the SELECT button to highlight the next digit(s) in your library's
Netmask address.
d. After entering the final digit(s) in your Netmask address, press the
SELECT button to apply your entries.
6. Press the DOWN button to select Gateway.
1-13
Installation

