Dialogic IMG 1010 Kurulum Talimatları Kılavuzu - Sayfa 5

Ağ Geçidi Dialogic IMG 1010 için çevrimiçi göz atın veya pdf Kurulum Talimatları Kılavuzu indirin. Dialogic IMG 1010 9 sayfaları. Connecting dc power
Ayrıca Dialogic IMG 1010 için: Kurulum Talimatları Kılavuzu (6 sayfalar), Hızlı Başlangıç Kılavuzu (11 sayfalar), Hızlı Başlangıç Kılavuzu (18 sayfalar), Hızlı Başlangıç Kılavuzu (10 sayfalar), Hızlı Başlangıç Kılavuzu (10 sayfalar), Hızlı Başlangıç Kılavuzu (4 sayfalar)
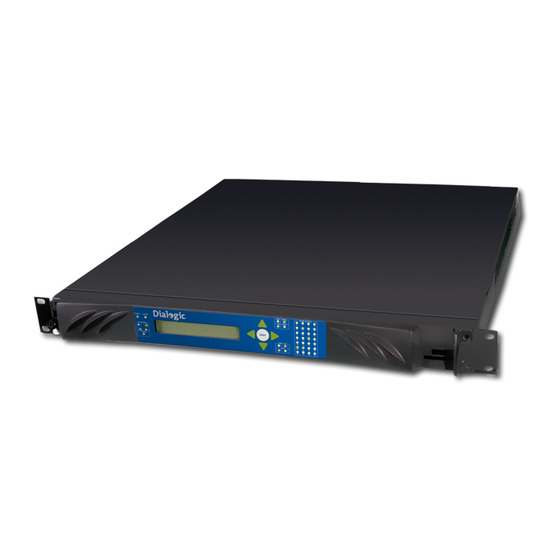
Dialogic IMG 1010 Kurulum Talimatları Kılavuzu
Removing the 1010 VoIP Module from the 1010 motherboard
Caution: Perform the following with care or module connector damage could occur.
1. Identify which module will be removed using Diagram below as a guide to locating the specific
Module Number.
Important: The Diagram below displays two 1010 VoIP Modules. When installing only one
module, it must be installed in Position 0. See Diagram 2 below.
2. Using a #1 Phillips screwdriver, carefully remove the four screws that secure the VoIP module to
the card. Discard the screws. DO NOT REUSE THE SCREWS
3. Place your index fingers and thumbs under the corners of the 1010 VoIP Module as shown in the
illustration (Figure 1 below). Gently lift until the connectors start to disengage, at which point you
should stop lifting. Place your index fingers and thumbs under opposite corners and repeat such
that you lift a little bit more each time. Continue this process until the module is freed from the
connectors.
Dialogic Corporation
Diagram 2
Figure 1
Part # 07-8740-02
Page 5 of 9