Miller Axcess 300 Kullanıcı El Kitabı - Sayfa 26
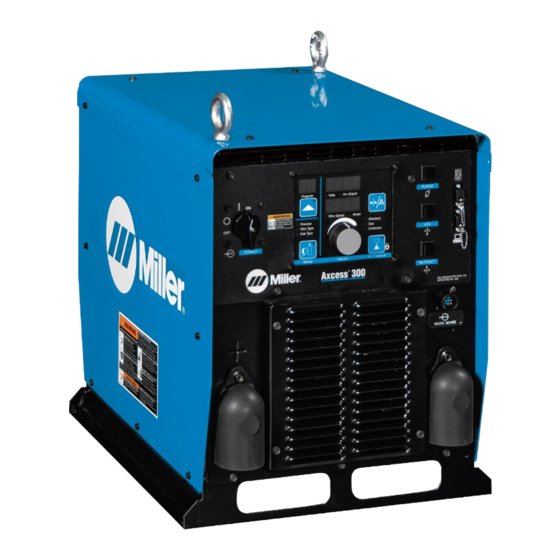
Kaynak Sistemi Miller Axcess 300 için çevrimiçi göz atın veya pdf Kullanıcı El Kitabı indirin. Miller Axcess 300 44 sayfaları. Arc welding power source and wire feeder with meters
Ayrıca Miller Axcess 300 için: Kullanıcı El Kitabı (36 sayfalar), Kullanıcı El Kitabı (48 sayfalar)
5-6. Troubleshooting
Trouble
No weld output; wire does not feed.
No weld output; wire feeds.
Low weld output.
Low, high, or erratic wire speed.
No wire feed.
OM-1321 Page 22
Remedy
Be sure line disconnect switch is On (see Section 3-12).
Replace building line fuse or reset circuit breaker if open (see Section 3-12).
Reset circuit breaker CB1 (see Section 5-2).
Secure gun trigger connections (see Section 3-5).
Have Factory Authorized Service Agent check Power switch.
Have Factory Authorized Service Agent check all board connections and main control board.
Thermostat TP2 or TP3 open (overheating). Allow fan to run; the thermostat will close when the unit has
cooled (see Section 3-2 and 5-3).
Connect work clamp to get good metal to metal contact.
Replace contact tip (see gun Owner's Manual).
Have Factory Authorized Service Agent check main control board and main rectifier.
Connect unit to proper input voltage or check for low line voltage (see Section 3-12).
Check input voltage jumper links and correct position if necessary (see Section 3-12).
Have Factory Authorized Service Agent check main control board.
Readjust front panel settings (see Section 4-1).
Change to correct size drive rolls (see Section 5-4).
Readjust drive roll pressure (see Section 3-13).
Replace inlet guide, contact tip, and/or liner if necessary (see gun Owner's Manual).
Check position of input jumper links (see Section 3-12).
Have Factory Authorized Service Agent check main control board.
Reset circuit breaker CB1 (see Section 5-2).
Turn Wire Speed control to higher setting (see Section 4-1).
Clear obstruction in gun contact tip or liner (see gun Owner's Manual).
Readjust drive roll pressure (see Section 3-13).
Change to correct size drive rolls (see Section 5-4).
Rethread welding wire (see Section 3-13).
Check gun trigger and leads. Repair or replace gun if necessary. Welding gun not included.
Have Factory Authorized Service Agent check main control board.
H − − message appears on voltmeter display to indicate thermostat TP1 is open and unit is in an over-
heated condition (see Section 4-2).