Panasonic AG-AC130A Series Manuel - Sayfa 8
Video Kamera Panasonic AG-AC130A Series için çevrimiçi göz atın veya pdf Manuel indirin. Panasonic AG-AC130A Series 18 sayfaları. Broadcast-grade camera recorder with 22x zoom lens and 2.2 megapixel u.l.t. image sensor
Ayrıca Panasonic AG-AC130A Series için: Kullanım Talimatları Kılavuzu (38 sayfalar), Broşür (12 sayfalar), Hızlı Kılavuz (1 sayfalar)
External Microphones
While the camcorder has a built-in microphone, using an external microphone allows you to place
the mic much closer to the sound source and get better sound. The closer the microphone is to the
sound source, the better the sound will be recorded.
We have several types of external microphones: clip-on (lavaliere) and handheld.
Usually, the clip-on mic is used for interviews. It should be clipped onto a lapel or
shirt placket no more than 10" below the chin, and made to look as inconspicuous
as possible by running the wire underneath clothing.
Since it runs on a battery, the power must be switched
on at the belt pack.
The handheld mic is a good all-purpose mic to use for news conferences,
standups, meetings, musical events, etc. With no battery inside, the
handheld mic is ready to use as soon as it's plugged in. Both microphones
have windscreens that can be used to filter unwanted wind noise or strong
breaths.
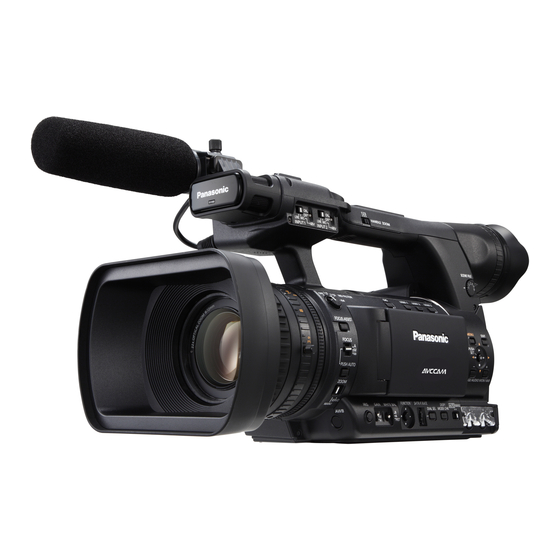
Connecting microphones to the camera
6
1. Use an XLR cable to connect the microphone to the AUDIO
INPUT1/2 XLR 3-pin terminals.
2. Switch the connected audio input signal with the INPUT1
LINE/MIC switch or INPUT2 LINE/MIC switch.
Use <MIC> when connecting either kind of wired microphone
or wireless handheld;
Use <LINE> when connecting to a wireless clip-on or any
mixing board/PA sound system.
3. Use the AUDIO CH1 SELECT switch to select the input signal
to be recorded to audio channel 1.
<INT (L)>: audio from the built-in microphone Lch is recorded.
<INPUT1>: Audio from the device connected to AUDIO
INPUT1 terminal is recorded.
<INPUT2>: Audio from the device connected to AUDIO
INPUT2 terminal is recorded.
4. Use the AUDIO CH2 SELECT switch to select the input signal
to be recorded to audio channel 2.
<INT (R)>: Audio from the built-in microphone Rch is recorded.
<INPUT2>: Audio from the device connected to AUDIO
INPUT2 terminal is recorded.