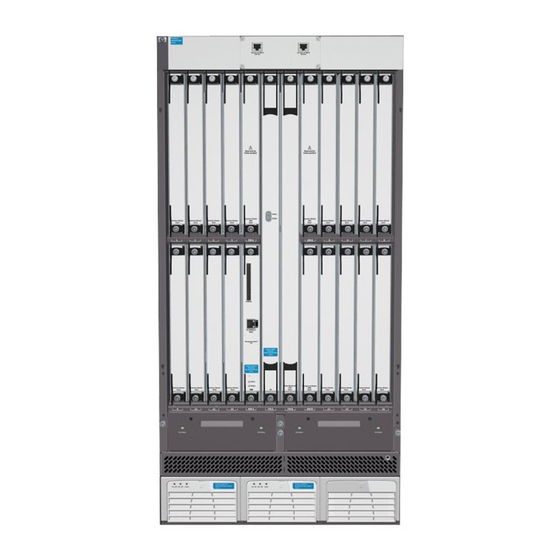
HP ProCurve 8116fl Ürün Kullanım Ömrü Sonu Sökme Talimatları - Sayfa 2
Anahtar HP ProCurve 8116fl için çevrimiçi göz atın veya pdf Ürün Kullanım Ömrü Sonu Sökme Talimatları indirin. HP ProCurve 8116fl 4 sayfaları. Redundant switch fabric module
Ayrıca HP ProCurve 8116fl için: Veri Sayfası (6 sayfalar), Ürün Kullanım Ömrü Sonu Sökme Talimatları (9 sayfalar)

radioactive substances
2.0 Tools Required
List the type and size of the tools that would typically be used to disassemble the product to a point where components
and materials requiring selective treatment can be removed.
Tool Description
Philips Head Screw Driver
3.0 Product Disassembly Process
3.1 List the basic steps that should typically be followed to remove components and materials requiring selective treatment:
1.
Carefully detach the cable that is connecting the LEDs on one end of the bulkhead and the PCA on the other end.
Refer to Picture 1 for more details.
2. Remove the screws securing the bulkhead to PCA using a Philips screw driver (4 per for J8730A).
3. Remove the EMI gasket from the top (1 per) and the side (2 per) of the bulkhead. Refer to Picture 2 for more details.
4. Remove the screws securing the clip to heat sink using a Philips screw driver (24 per for J8730A). Refer to Picture 3
for more details
5. Separate the clip (12 per for J8730A) & standoff (24 for J8730A) from the heat sink.
6. Remove the screws securing the guide pins to the PCA using a Philips screw driver (3 per for J8730A). Refer to
Picture 4 for more details.
7. Separate the guide pins, heat sink, clip, standoff, EMI gasket, cable, PCA and bulkhead
8.
9.
10. .
11.
12.
13.
14.
15.
16.
3.2 Optional Graphic. If the disassembly process is complex, insert a graphic illustration below to identify the items
contained in the product that require selective treatment (with descriptions and arrows identifying locations).
EL-MF877-00
Template Revision A
Tool Size (if
applicable)
# 2
Page 2
