EasyPet EP-28A Kullanıcı Kılavuzu - Sayfa 2
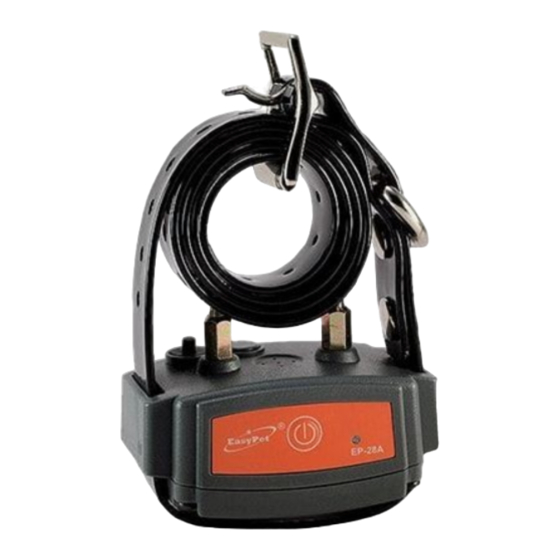
Evcil Hayvan Bakım Ürünü EasyPet EP-28A için çevrimiçi göz atın veya pdf Kullanıcı Kılavuzu indirin. EasyPet EP-28A 9 sayfaları. Automatic anti-bark collar

Triple detection technology—3way triggered response: vibration from vocal cords +
•
sound from the bark + preset barking time frame to minimize false triggering.
3 Correction Modes & builtin safety feature—Humane combination of beep, vibration
•
and 18 levels of progressive static stimulus corrections (optional).
Static stimulus correction can be manually turned off if undesired.
•
Comes with a pair of plastic prongs for pure vibration purpose only (no shock).
•
Autoset memory feature to protect your dog from overstimulation.
•
LED light power indicator.
•
Light weight and compact collar unit with high quality waterproof strap.
•
Principles of Operations:
When your dog barks, EP28A will first apply a lowpitched tone. If a second bark occurs, a
vibration correction will be administered. If your dog barks a third time, it will give a short beep
tone with the vibration correction, and emit the stimulation on the mildest level. The
stimulation levels increase every time your dog barks until he stops barking. After your dog
has stopped barking, the microprocessor will automatically remember the correct level which
stops your dog's barking and will start from the exact level when he barks again (Auto Set
Memory). There are 18 levels of static stimulus. At each step, your dog gets to choose
whether it is worth the increasing pain to bark again. We have found this technique of
combination of warning tone, vibration and shock is not only more humane, but also more
effective in breaking the barking habit than conventional shocking anti bark collars.
Quick Start
Step 1 Charging the Collar
WARNING: The collar should be off the dog for this step!
1.1 Lift the small rubber tab on the collar to access the charging port.
1.2 Plug the supplied wall charger into the wall socket and into the charging port of the
receiver.
