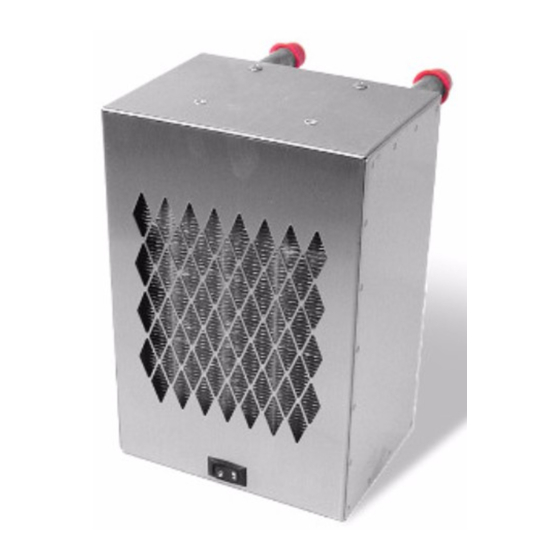
Dickinson Radex 2 Operatör El Kitabı - Sayfa 5
Isıtıcı Dickinson Radex 2 için çevrimiçi göz atın veya pdf Operatör El Kitabı indirin. Dickinson Radex 2 9 sayfaları.

Installation
To make sure your unit has an adequate air supply install the Radex so there is at least 2"
(5.08cm) of airspace behind the fan.
Connect the circulating hot water to the pipes as shown. The outside dimension of the
copper tubing is a ¾" diameter (1.9cm). If using 5/8ths heater hose, ensure the clamp is
secure at the end of the hose to prevent slipping . We recommend the use of compression
fittings with a 3/4" diameter female tube to a 5/8" diameter male hose barb fitting (and
hose clamp).
Operate the heater and check all connections for leaks prior to final installation into wall
or cabinet.
After the fan wiring and water installation are complete, secure the Radex in the mounted
position with the desired mounting kit.
Fresh water cooled engines should mount the heater below the level of the radiator cap or
use an air bleeder to prevent trapped air locks. The Radex 2 has an installed manual air
bleed valve. Be sure the hoses are not kinked or restricted in any way.
REPORT ANY DEFICIENCIES OR MISSING COMPONENTS IMMEDIATELY
www.dickinsonmarine.com
~
Form# 7.2-63 (2)
