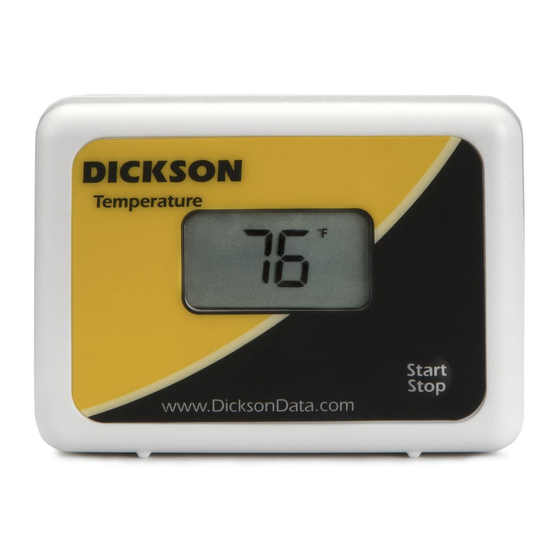
Dickson TP325 Kullanım Talimatları Kılavuzu - Sayfa 4
Veri Kaydediciler Dickson TP325 için çevrimiçi göz atın veya pdf Kullanım Talimatları Kılavuzu indirin. Dickson TP325 9 sayfaları.

Getting Started
To setup your SP325 or TP325 you'll need to be at your PC.
1. Install DicksonWare v.11 or higher Software on your PC.
a. Windows 98 or higher is required.
b. DicksonWare v.11 or higher is required. If you currently have DicksonWare on your PC, check
the version by choosing Help and About from the menu bar.
c. To install and start DicksonWare Software onto your PC, insert the CD into the CD drive. Installation
will start automatically.
2. Connect the cable (supplied with the software) to the logger and to a working USB port on your PC
a. When using the USB connection, your computer may detect the logger when the logger is powered
on and connected to the computer via the USB connection. Depending on your version of Windows,
the computer may go through and Add New Hardware routine. (A computer restart is not required)
3. To setup your logger, launch DicksonWare by double clicking on the DicksonWare icon.
a. Click on the large SETUP Icon. A window will pop up asking you to select either a Serial or USB
connection. Select the USB option and click on the Continue button.
b. Setup data will now appear in a new window. All fields should be automatically filled in; this will
confirm that DicksonWare has recognized the logger. Should the fields remain blank, verify that
you have the correct version of DicksonWare installed on your PC. Also, detach then re-attach the
USB cable to restart the USB channel. Once DicksonWare recognizes the logger, press the Clear
button. This will delete all data currently stored.
c. The logger is now sampling and ready for use. Verify that the display is showing current readings.
You may choose to change Default settings for the following:
Setting
Default Options
Sample Interval 1 minute 1 sec. up to
Start-date and
No Delay Press Button
Time
Stop or Wrap
Stop
When Full
Degree F or C
Deg. F
Display Scroll
Current
User ID
Model # User Defined Setup/
Sub Ten Second
Disabled Enabled
Interval
Humidity
RH
d. When changing setting for sample interval, sub ten second sample interval, stop or wrap when
full and start-date and time, the logger will automatically go through the clear process to
accept changes.
Note: To conserve battery life when storing unit, select Stop When Full from the Setup/Samples section or
remove the battery.
Rev. 05/09
Location
Setup/
24 hrs
Samples
Setup/
to Start or
Samples
Start After
Delay
Wrap
Setup/
Samples
Deg. C/K or
File
Raw
/Preferences
Current/Min/
Setup/Display
Max
Identification
Setup/
Samples
Dew Point or
File/
Raw
Preferences
