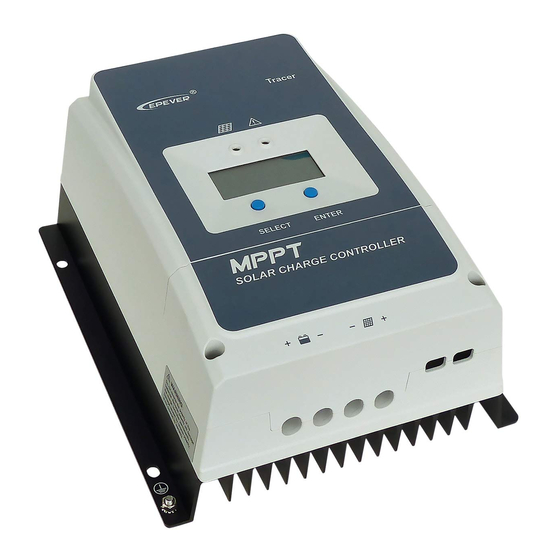
Epever TRACER 6420 Hızlı Başlangıç Kılavuzu - Sayfa 2
Kontrolör Epever TRACER 6420 için çevrimiçi göz atın veya pdf Hızlı Başlangıç Kılavuzu indirin. Epever TRACER 6420 8 sayfaları.

Perform the steps below in the order listed.
Remove all connected mounting brackets before attempting to remove the unit cover.
1. Remove any installed modules from the chassis (blank panels covering the module slot openings do
not need to be removed).
2. Remove the screws from the chassis cover using a Phillips-head screwdriver (see Figure 1).
3. Carefully slide the cover toward the back of the unit until the front edge of the cover is disconnected
from the front of the unit. Lift the cover off and set aside.
4. Verify the current frequency plan configuration. To verify the plan, check the connections between the
J connectors (located on the edge of the board and labeled J1 and J2) and the Chan connectors
(located on the diplexer). The Chan connectors are labeled CH1 and CH2 for most TRACER 6420
systems. The following table outlines the connections for Plan A and B.
Click to see a digital image of the
5. Using the torque wrench, disconnect both cables from the Chan connectors on the diplexer. Do not
attempt to disconnect the J connectors (located on the board) as this will cause damage. Click
a digital picture of this step.
2
Figure 1. Removing the Cover Screws (TRACER 6420)
TRACER 6420
PLAN
CHAN 1
A
J2
B
J1
J connectors
© 2005 ADTRAN, Inc.
TRACER 6420 Frequency Conversion Document
CHAN 2
J1
J2
or the
Chan
connectors.
here
for
612806420L1-18A
