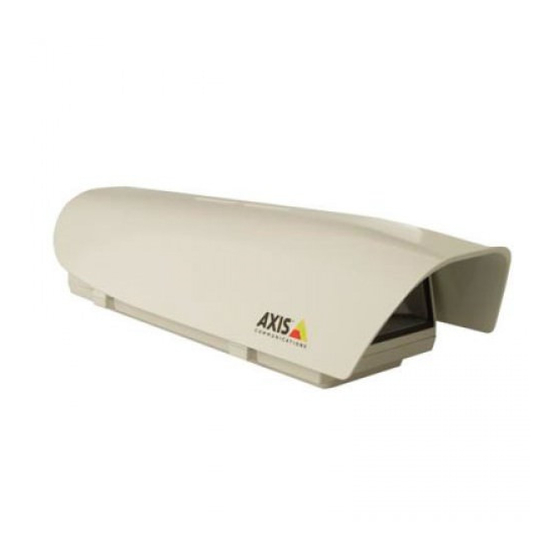
Axis T92A20 Kurulum Kılavuzu - Sayfa 6
Kamera Aksesuarları Axis T92A20 için çevrimiçi göz atın veya pdf Kurulum Kılavuzu indirin. Axis T92A20 12 sayfaları. Protective housing

Page 6
Install the camera in the housing
3
AXIS T92A20 comes with a pre-installed 12V High PoE Splitter.
1. Loosen the 2 Phillips positioning screws to remove the holder from camera housing (fig.1).
1. The housing is shipped with 3 black plastic spacers. Use one, two or three spacers between the
camera and holder:
•
AXIS P1311 - 1 spacer
•
AXIS Q1755 - 1 spacer
•
AXIS 210/210A - 2 spacers
•
AXIS 211/211A/211M/211W - 2 spacers
•
AXIS 221/223M - 1 spacer
2. Secure the camera, spacer(s) and holder with one of the three screws (flathead) and clear
plastic spacer (fig.1).
3. Fit the slots on the holder to the positioning screws (fig.2).
•
Make sure that the camera lens is positioned more than 2mm above the heater and
that the cables are not in contact with the heater
•
Make sure that the camera is positioned so the lens is 1-2mm from the housing win-
dow.
4. Slide the holder to a suitable position and tighten the positioning screws when satisfied.
5. Proceed to "Connect power and network cables to the camera" on page 7.
FIG.1
Axis Network
Camera
Holder
Flathead screw
Positioning
screws for
holder
Rectangular
spacer(s)
Clear plastic spacer
FIG.2
Heater
positioned here
AXIS T92A20 Installation Guide
