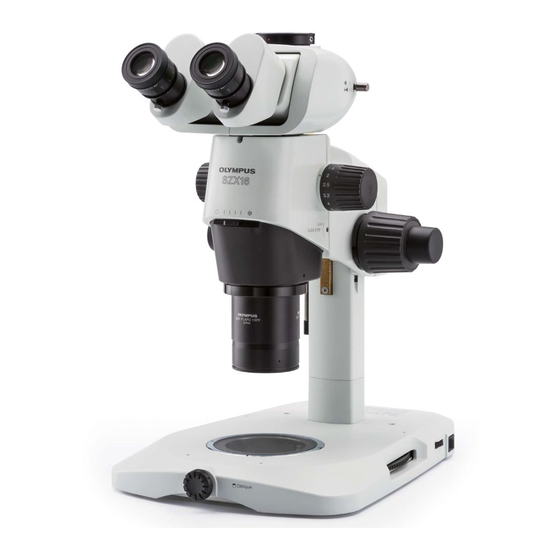
Olympus SZX16 Talimatlar Kılavuzu - Sayfa 23
Mikroskop Olympus SZX16 için çevrimiçi göz atın veya pdf Talimatlar Kılavuzu indirin. Olympus SZX16 36 sayfaları. Research high-class stereo microscope
Ayrıca Olympus SZX16 için: Genel Bakış (24 sayfalar), Talimatlar Kılavuzu (28 sayfalar), Talimatlar Kılavuzu (40 sayfalar)

8-2 Detailed Assembly Procedure
³
Fig. 16
²
@
³
Fig. 17
30°or less
Fig. 18
1
Installing the Pillar
1. Using the Allen wrench provided with the base, loosen the two clamping
²
screws @ on the pillar support sleeve completely.
2. Hold the pillar ² so that the Allen screwdriver storage hole comes cap at
the top, and insert the pillar into the pillar support sleeve until it reaches
the bottom.
@
3. Using the provided Allen wrench, tighten the two clamping screws @
securely.
Reserve Screw Holes
Two screw holes ³ (6 mm) are provided for use in mounting a manipulator,
etc.
2
Mounting the Focusing Assembly
1. First loosen the focusing assembly clamping knob @ completely and,
while holding the focusing assembly with both hands, insert the pillar ³
into the mounting hole ² from below. (Fig. 17)
# Insert slowly. Do not apply excessive force.
2. Lower the focusing assembly until it stops, then tighten the focusing
assembly clamping knob @. (Fig. 17)
To prevent the microscope from turning over, the focusing assembly
must be installed on the same side as the stage plate in the stand,
as shown in the illustration marked "\" in Fig. 18, and its pivot angle
must be limited to 30°. If the focusing assembly is placed on the
wrong side, the microscope will turn over.
# If the clamping knob @ is tightened while the pillar ³ is not completely
inserted into the mounting hole ², the plate spring supporting the
pillar will deform and the pillar will not be able to penetrate into the
hole. (Fig. 17)
SZX16
(Fig. 16)
(Figs. 17 & 18)
19
