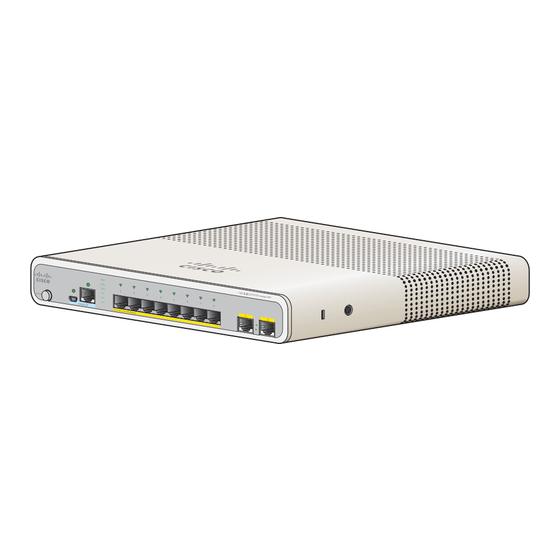
Cisco 2960-C Kurulum Kılavuzu - Sayfa 6
Anahtar Cisco 2960-C için çevrimiçi göz atın veya pdf Kurulum Kılavuzu indirin. Cisco 2960-C 37 sayfaları.
Ayrıca Cisco 2960-C için: Başlangıç Kılavuzu (25 sayfalar)

Mounting the Switch
On a Desk or Shelf (without Mounting Screws)
Locate the adhesive strip with the rubber feet in the accessory kit.
Step 1
Remove the four rubber feet from the adhesive strip, and attach them to the recessed areas on the bottom
Step 2
of the unit. This prevents the switch from sliding on the desk or shelf.
Note
Place the switch on the desk or shelf.
Step 3
To prevent airflow restriction, allow clearance around the ventilation openings to be at least:
Warning
3 in. (7.6 cm) Statement 1076
After you mount the switch, see the
about the switch configuration.
Desk, Shelf, or Wall (with Mounting Screws)
You can use the mounting screws to mount the switch:
•
•
•
Desk- or Shelf-Mounting
Use the screw template to align the mounting screw holes and also as a guide to make sure that you install
Step 1
the screws into the desk or shelf with proper clearance.
Position the screw template on top of the desk or shelf so that the two side-by-side slots face the front of
Step 2
the desk or shelf, as shown in
shelf after the switch is installed.
Note
Catalyst 3560-C and 2960-C Switch Hardware Installation Guide
2-6
We strongly recommend that you attach the rubber feet. Doing so helps prevent airflow
restriction and overheating.
On a desk or a shelf
Under a desk or a shelf
On a wall
Figure
Wait before you attach the screw template to the desk or shelf.
"After Installing the Switch" section on page 2-31
2-1. This ensures that the power cord faces the rear of the desk or
Chapter 2
Switch Installation
for information
OL-23803-02
