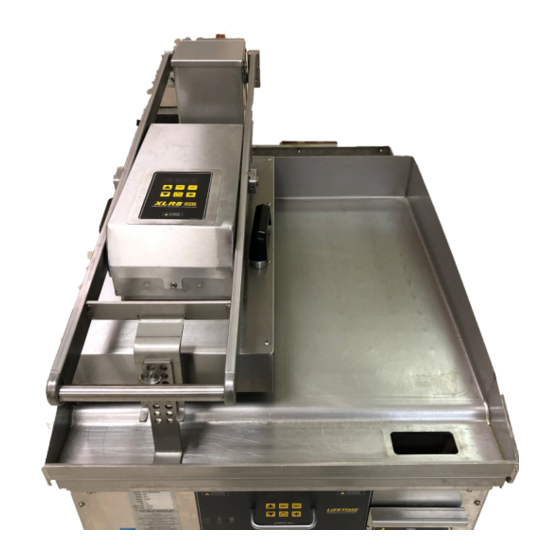
AccuTemp XLR8 Kurulum ve Kullanım Kılavuzu - Sayfa 7
Isıtıcı AccuTemp XLR8 için çevrimiçi göz atın veya pdf Kurulum ve Kullanım Kılavuzu indirin. AccuTemp XLR8 13 sayfaları. Upper heated platen

3.8 START UP PROCEDURE
1. Ensure both arms are square with
the griddle. Use the griddle sides as a
reference.
2. If adjustment is needed, loosen the nuts
that hold the lift assembly to the base lift
bracket.
3. Resecure the nuts once the arm assembly
has been squared.
3.8.1 INSTALL TEFLON SHEET
1. Raise the two teflon retaining handles off
the arm.
2. Secure one side of the teflon sheet using
one handle, keeping the handle at the
central point of the arm ("Figure 11").
3. Stretch the teflon across the underside
of the platen and secure with the other
retaining handle.
TEST INSTALL
1. Plug in lift power cord to correct NEMA
receptacle.
2. Power the XLR8 on using control buttons
located on top of the arm.
3. Keep arm elevated an allow to heat to
temperature displayed on control digital
display.
4. Monitor temperature using a fluke wand
meter.
5. Once unit has reached temperature allow
15 minutes for it to stabilize, then take
three temperature readings from the
front, middle and back of the arm cooking
surface.
6. The temperatures should be with 5+/-F of
the temperature displayed.
SP8144-2011
XLR8 Installation & Operation Manual
6
