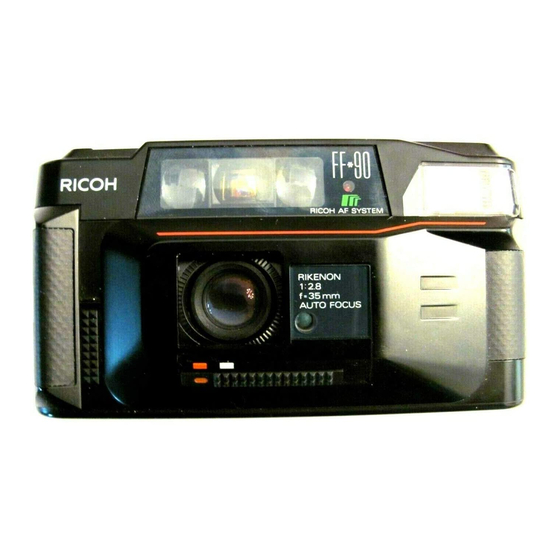
Ricoh FF-90 Manuel - Sayfa 8
Dijital Kamera Ricoh FF-90 için çevrimiçi göz atın veya pdf Manuel indirin. Ricoh FF-90 15 sayfaları.

VIEWFINDER
(Fig. 17)
AUTO-FOCUS SHOOTING
1. Field of View Frame
The subject (such as people or scenery) that you wish to take
should be set within this frame.
2. Parallax Correction Marks When taking a picture of
subject that is between 0.8m--1.2m (2.6 - 4 A.) away from the
camera, the subject should be positioned within these marks.
Anything outside the marks will not be included in the picture
even though you can see it through the viewfinder.
3. Auto-Focus Frame The auto-focus system focuses
automatically on any subject that appears within this small
square.
4. Zone Marks These marks indicate the focusing distance.
When the ~ symbol blinks, the subject is too close to the
camera. You should move further away from the subject.
1. Set the subject you wish to take within the Auto
Focus Frame in the center of the Viewfinder.
2. When you press the Shutter Release Button halfway,
the Zone symbol will light up to indicate the focus
distance. If the ~ symbol blinks, you should move back
a little as the camera is too close to the subject.
3. Gently press the Shutter Release Button down to take
the picture. The film will advance automatically as soon
as the shutter has been released,
* Please be careful not to cover the Distance Measuring
Windows at the front of the camera accidentally, as this
will cause incorrect focusing.
* Please keep the Distance Measuring Windows clean
so that focusing is accurate. If it gets dirty, it should be
wiped clean with a soft cloth.
4www.butkus.org
