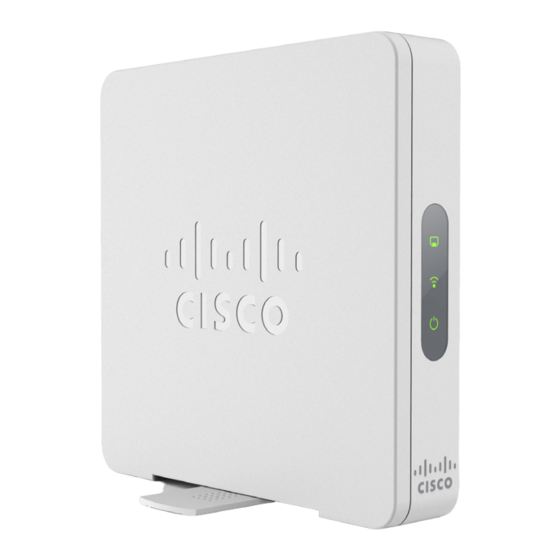
Cisco WAP131 Hızlı Başlangıç Kılavuzu - Sayfa 9
Kablosuz Erişim Noktası Cisco WAP131 için çevrimiçi göz atın veya pdf Hızlı Başlangıç Kılavuzu indirin. Cisco WAP131 13 sayfaları. Reboot and reset factory default settings
Ayrıca Cisco WAP131 için: Hızlı Başlangıç Kılavuzu (13 sayfalar), Manuel (4 sayfalar), Manuel (4 sayfalar)

Because the factory default IP address configuration is DHCP, make sure
that your DHCP server is running and can be reached. You may need to
disconnect and reconnect the devices for them to discover their new IP
addresses from the DHCP server. You can then query the DHCP server for
the new IP address. See
Configuration" on page 6
address.
If the Cisco WAP131 does not receive a DHCP response (there is no DHCP
server on your network) after 60 seconds, the Cisco WAP131 will fallback
to the following default static IP address: 192.168.1.245 and a default mask
of 255.255.255.0. To reach that IP address, be sure that your computer is
on the 192.168.1.xxx network.
Rebooting the Cisco WAP131 or Returning
8
it to its Factory Default Settings
To reboot your Cisco WAP131:
• When the power supply is PoE, unplug your Ethernet connection for
three seconds and plug it back in.
or
• With the power on, press the RESET button with an opened paper clip
for less than 10 seconds, or until the lights go off.
–
When all the lights go off, release the RESET button.
–
Release the RESET button as soon as the lights go off, or you will
restore the access point to factory default settings and lose your
configurations.
To reset the Cisco WAP131 to factory default settings:
• With the power on, press and hold the RESET button with an opened
paper clip for more than 10 seconds.
–
All of the lights will go off.
–
Release the RESET button when the power light turns on.
Cisco WAP131 Quick Start Guide
Step 2
of
"Getting Started with the
for more information on how to find the DHCP
9
