Cisco 7821 Kullanıcı Kılavuzu - Sayfa 6

Konferans Sistemi Cisco 7821 için çevrimiçi göz atın veya pdf Kullanıcı Kılavuzu indirin. Cisco 7821 10 sayfaları. Connaught
Ayrıca Cisco 7821 için: Sürüm Notları (16 sayfalar), Hızlı Başlangıç Kılavuzu (2 sayfalar), Kullanıcı Kılavuzu (18 sayfalar), Hızlı Referans Kılavuzu (4 sayfalar), Hızlı Referans (4 sayfalar), Hızlı Kurulum ve Kullanım Kılavuzu (12 sayfalar), Referans Kılavuzu (11 sayfalar), Hızlı Başlangıç Kılavuzu (4 sayfalar), Manuel (27 sayfalar), Kullanıcı Kılavuzu (20 sayfalar), Çalışan Hızlı Referans Kılavuzu (4 sayfalar), Ürün Yazılımı Geçişi Ana Kılavuzu (31 sayfalar), Manuel (43 sayfalar), Hızlı Başlangıç Kılavuzu (6 sayfalar), Hızlı Referans Kartı (2 sayfalar), Hızlı Başlangıç Kılavuzu (2 sayfalar), Kurulum Kılavuzu (39 sayfalar), Manuel (20 sayfalar), Yeniden Yapılandırma Kılavuzu (2 sayfalar), Hızlı Başlangıç Kılavuzu (7 sayfalar), Hızlı Kurulum Kılavuzu (12 sayfalar), Kullanıcı Kılavuzu (27 sayfalar), Kullanıcı Kılavuzu (2 sayfalar), Başlarken (2 sayfalar), Hızlı Başlangıç Kılavuzu (2 sayfalar), Kullanıcı Kılavuzu (5 sayfalar)
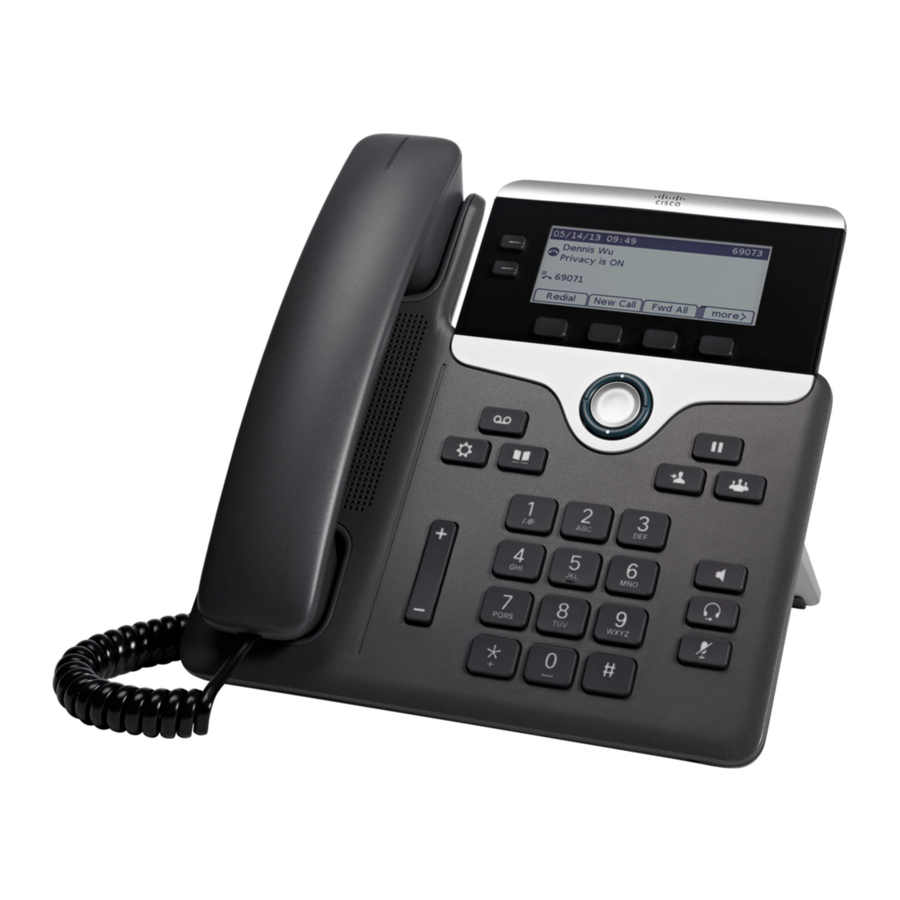
Cisco 7821 Kullanıcı Kılavuzu
Click on Admin Login in the top right corner of the administration interface.
Click on Advanced in the top right corner of the administration interface.
Click on Voice on the main menu.
Click on Ext 1 on the sub menu.
Enter or set the following details into the respective fields.
REQUIRED FIELDS:
Proxy (Proxy and Registration section)
Enter the Hostname or IP Address of the PBXware.
- Example for Hostname: voip.bicomsystems.com
- Example for IP Address: 192.168.1.10
User ID (Subscriber Information section)
PBXware extension number. Example: 1003.
Password
The Secret of the extension as received in the e-mail associated with this extension.
Example: _%Z4M3*Ts9y7. A password is generated automatically for each newly created
extension.
Navigate down to "Dial Plan" section. Clear the Dial Plan field, then copy and paste the
following value.
(*x.|**x.|*xx|[3469]11|0|00|[2-9]xxxxxx|1xxx[2-9]xxxxxx|xxxxxxxxxxxx.)
Click on the Submit button.
You'll have to wait sometime prior for the device to reboot. If everything is done as above
described, you should have successfully registered your device to PBXware.

Auto Provisioning

This chapter describes how to set UAD settings, create PBXware extension and register the
device using DHCP or Static IP address.
The following topics are covered:
- UAD Settings
- Creating Extension
- Registering Device