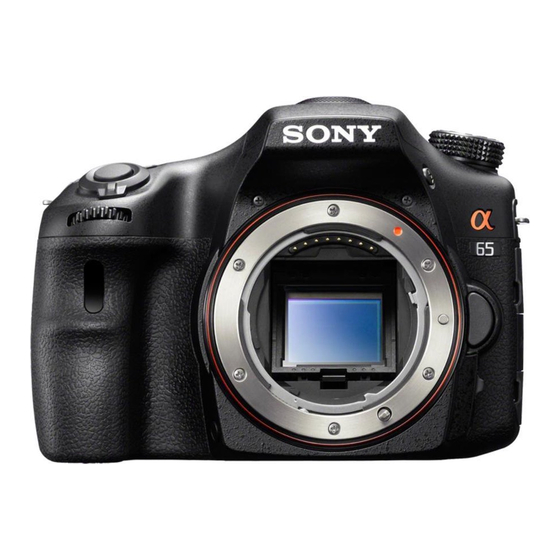
Sony Alpha SLT-A65 Servis Kılavuzu - Sayfa 28
Dijital Kamera Sony Alpha SLT-A65 için çevrimiçi göz atın veya pdf Servis Kılavuzu indirin. Sony Alpha SLT-A65 36 sayfaları. Correction and notes on shooting with the viewfinder
Ayrıca Sony Alpha SLT-A65 için: Düzeltme (2 sayfalar), İşlev Kılavuzu (3 sayfalar)

Ver. 1.2 2012.04
The changed portions from
Ver. 1.1 are shown in blue.
2-1-10. IMAGER SECTION
ns: not supplied
Anti Shake Unit Section
(See page 2-13)
(including HOL-007 flexible board)
451
453
(Note1, 2)
454
(Note 1)
Note2: Refer to "3-2. CLEANING PROCEDURE OF OLPF" on page
3-2 for method of cleaning the OLPF.
Note:3
Precautions for Replacement of Imager
• If the imager has been replaced, carry out all the adjustments for the
camera section.
• As the imager may be damaged by static electricity from its structure,
handle it carefully like for the MOS IC.
In addition, ensure that the receiver is not covered with dusts nor
exposed to strong light.
Ref. No.
Part No.
Description
451
4-194-226-01
IM PLATE, LPF RETAINER
452
A-1842-096-A
IM IMAGER UNIT (868)
(including CP6001 (CMOS imager) and IS-095 complete
board) (Note1, 2, 3)
453
1-856-260-11
FILTER BLOCK, OPTICAL (Note 1, 2)
454
4-193-875-01
CUTTER, IM FLARE (S)
(Note 1)
455
4-185-993-01
IM SHEET, SPACER (Note 1)
456
4-194-127-01
IM TAPE, SPACER FIXED (S)
(Note 1)
457
1-884-796-11
ISP-004 FLEXIBLE BOARD
SLT-A65/A65K/A65L/A65M/A65V/A65VK/A65VL/A65VM/A65VX/A65VY/A65X/A65Y_L2
452
(including CP6001 (CMOS imager) and
IS-095 complete board)
(Note1, 2, 3)
ns
459
455
(Note 1)
456
(Note 1)
461
462
458
457
Note2: OLPFの清掃方法は3-2ページの "3-2. CLEANING PROCEDURE
OF OLPF" を参照してください。
Note3:
イメージャ交換時の注意
・ イメージャを交換した場合は, カメラ部の全調整を行ってください。
・ イメージャは構造上,静電気により破壊される恐れがあるため,
MOS ICと同様に注意して取り扱ってください。
また,受光部にはゴミの付着,および強い光がはいることのない
ように注意してください。
Ref. No.
Part No.
Description
458
1-884-795-11
ISL-005 FLEXIBLE BOARD
459
4-293-682-01
IM SHEET, RADIATION
460
4-295-214-01
IM HEAT SINK
461
4-194-225-01
IM TAPE FPC GUIDE
∗ 462
4-194-227-01
IM PLATE GUIDE IMAGER FPC
463
4-295-215-01
IM SHEET GRAPHITE 870
#64
2-666-551-21
SCREW, TAPPING, P2
#240
2-685-023-01
TAPPING SCREW 1.4
Screw
#64: M1.7 X 5.0 (Tapping)
(Silver)
2-666-551-21
1.7
5.0
Note
Refer to the following statements when replacing the Optical
Note1:
filter block.
Method of Removal
(1) Pour resolvent (alcohol or cleaning agent) between the
imager and the IM spacer sheet.
∗ Wait for that the adhesive power of the IM spacer fixed
tape weakens.
(2) Remove the IM spacer sheet from the imager.
460
Pour resolvent (alcohol or cleaning agent)
between the imager and the IM spacer sheet.
#240
Method of Attachment
(1) Attach the IM flare cutter and the Optical filter block by
#64
aligning them with the outer shape of the IM spacer sheet
evenly.
∗ The two-layer side of the Optical filter block is on the
imager side.
(2) Attach the IM spacer fixed tape by aligning it with the
outer shape of the IM spacer sheet evenly.
Peel off the
#64
released paper.
463
Peel off the
released paper.
The two-layer
side is on the
imager side.
Mount
Imager
Side
Side
Optical Filter Block
(3) Set the Optical filter block in its attachment jig
(J-6082-737-A), with the attached IM spacer fixed tape
facing upward.
(4) Press the imager down into the jig as shown below to
attach it to the Optical filter block.
Imager
J-6082-737-A
2-12
#240: M1.4 X 2.0
(Black)
2-685-023-01
1.4
2.0
Note1: 光学フィルタブロックを交換する際は,下記を参照してくだ
さい。
取り外し方
(1) イメージャとIM間隔板の間に溶剤(アルコールまたは
クリーニング液)を流し込む。
∗ IM間隔板固定テープの粘着力が弱くなるのを待ってくだ
(2) イメージャからIM間隔板を取り外す。
組み付け方
(1) IM間隔板に対し,上下左右が均一になるようにIMフレア
カッターおよび光学フィルタブロックを貼り付ける。
∗ 光学フィルタブロックは2層側がイメージャ側になり
(2) IM間隔板に対し,上下左右が均一になるようにIM間隔板
固定テープを貼り付ける。
Peel off the
released paper.
2層側が
イメージャ側
IM Spacer
マウント
イメージャ
Fixed Tape
側
側
IM Spacer Sheet
IM Flare Cutter
光学フィルタブロック
(3) 貼り付けたIM間隔板固定テープが上になるように,光学
フィルタブロック貼付け治具(J-6082-737-A)にセットする。
(4) イメージャを図のように治具に押え付け,光学フィルタ
ブロックに貼り付ける。
イメージャ
Peel off the released paper.
J-6082-737-A
さい。
イメージャとIM間隔板の間に溶剤
(アルコールまたはクリーニング液)を流し込む。
ます。
剥離紙を剥がす
剥離紙を剥がす
剥離紙を剥がす
IM間隔板
固定テープ
IM間隔板
IMフレアカッター
剥離紙を剥がす
