Cisco ASA 5506W-X Şasiyi Monte Edin - Sayfa 8

Ağ Donanımı Cisco ASA 5506W-X için çevrimiçi göz atın veya pdf Şasiyi Monte Edin indirin. Cisco ASA 5506W-X 10 sayfaları. Threat defense reimage guide
Ayrıca Cisco ASA 5506W-X için: Hızlı Başlangıç Kılavuzu (10 sayfalar), Yapılandırma Kılavuzu (13 sayfalar), Hızlı Başlangıç Kılavuzu (14 sayfalar), Kolay Kurulum Kılavuzu (11 sayfalar), Yazılım Kılavuzu (37 sayfalar), Montaj ve Bağlantı (12 sayfalar), Kurulum Kılavuzu (46 sayfalar)
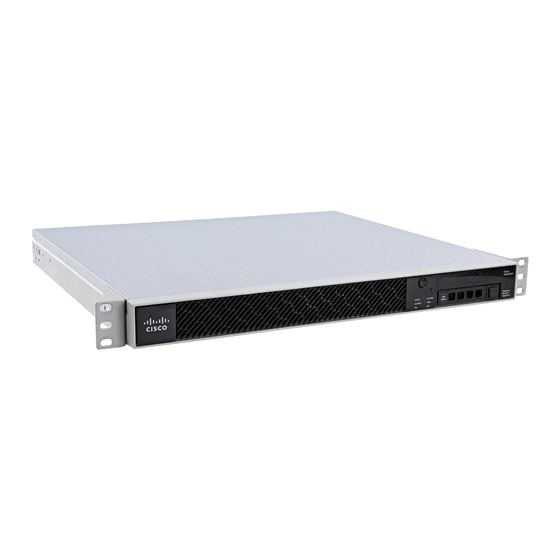
Cisco ASA 5506W-X Şasiyi Monte Edin
Install the ASA 5506H-X in a DIN Rail
Figure 7: Completed Rack Shelf/Tray Installation
Step 10
Install the sliding-rack tray into your rack using the correct screws (12-24 x 0.75 inch or 10-32 x 0.75 inch) from the
rack-mount kit that fit your rack type.
What to do next
Install the cables according to your default software configuration as described in the
Series Quick Start
Install the ASA 5506H-X in a DIN Rail
You can use the 7.5 mm thick 45 mm wide top hat DIN rail for the ASA 5506H-X. Secure the DIN rail to the
mounting surface approximately every 7.8 inches (200 mm) and use end-anchors appropriately.
Note
We recommend that you install the ASA 5506H-X on a steel DIN rail for extra stability.
To attach the ASA 5506H-X to a 35 mm wide DIN rail, follow these steps:
Step 1
Attach the DIN rail bracket to the back of the chassis using the four screws provided.
Mount the Chassis
8
Guide.
Mount the Chassis
Cisco ASA 5506-X