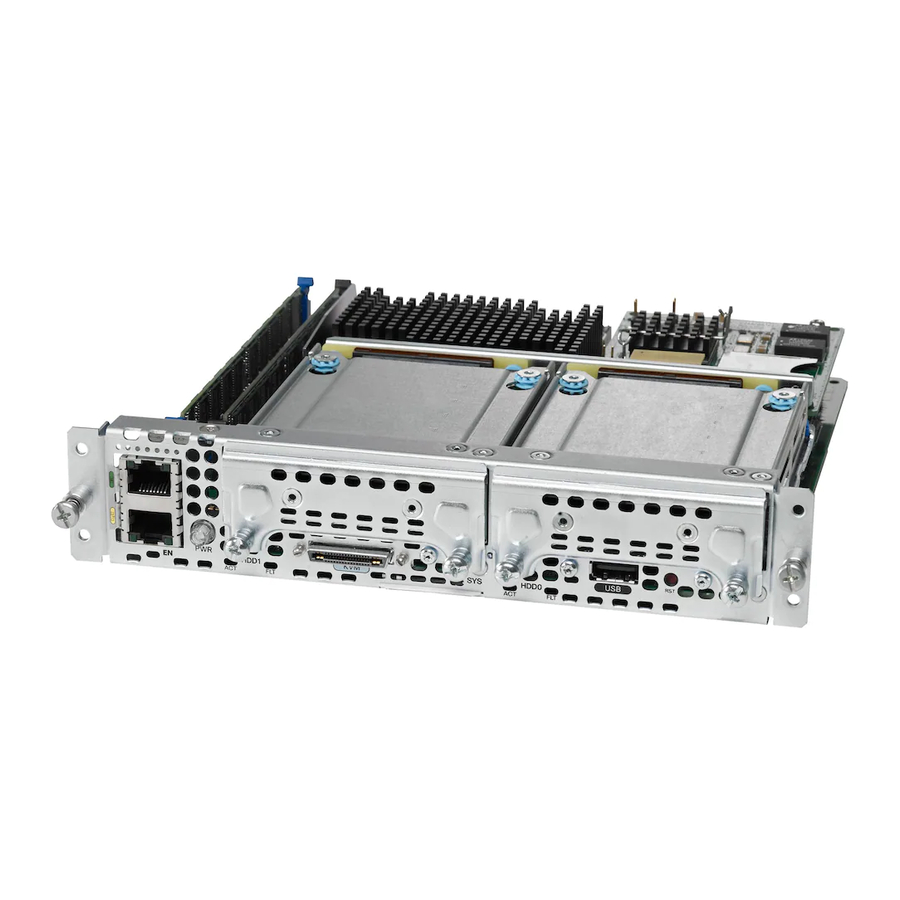
Cisco UCS E Series Kurulum Kılavuzu - Sayfa 38
Sunucu Cisco UCS E Series için çevrimiçi göz atın veya pdf Kurulum Kılavuzu indirin. Cisco UCS E Series 46 sayfaları. Ucs e series unified computing system
Ayrıca Cisco UCS E Series için: Ürüne Genel Bakış (8 sayfalar), Sorun Giderme Kılavuzu (28 sayfalar)

Installing and Replacing the Memory DIMMS
Remove the screws holding the faceplate to the PCIe card.
Step 6
Slide the PCIe card assembly out through the opening of the faceplate carrier.
Step 7
Installing the PCIe Assembly
Procedure
Step 1
Connect the wrist strap clip to an unpainted portion of the chassis frame to channel unwanted ESD
voltages to ground.
Turn off power to the router.
Step 2
Note
Connect the PCIe connector on the flex assembly to the PCIe card. See the figure in the
Step 3
PCIe Assembly" section on page
Slide the plastic PCIe support over the end of the PCIe card.
Step 4
Reconnect the PCIe flex assembly to the motherboard. Be careful that you do not stress any connector
Step 5
contacts.
Reinstall the M3 screw securing the PCIe assembly.
Step 6
Install the screws to secure the plastic PCIe card support.
Step 7
Tighten the PCIe card faceplate screws.
Step 8
Secure the PCIe card to the faceplate carrier using the faceplate captive fasteners.
Step 9
Installing and Replacing the Memory DIMMS
Caution
Always wear an ESD-preventive wrist strap and ensure that it makes good contact with your skin when
you remove or install DIMMs. Connect the equipment end of the wrist strap to the metal part of the
chassis.
Handle the DIMMs by the edges only. DIMMs are ESD-sensitive components and can be damaged by
Caution
mishandling.
Only trained and qualified personnel should be allowed to install or replace this equipment. Statement
Warning
1030
Hardware Installation Guide for Cisco UCS E-Series Servers
38
Alternatively, the Cisco 3900 ISR G2 and the Cisco ISR 4451-X support OIR. See the
Insertion and Removal" section on page
37.
29.
"Online
"Removing the
OL-26447-03
