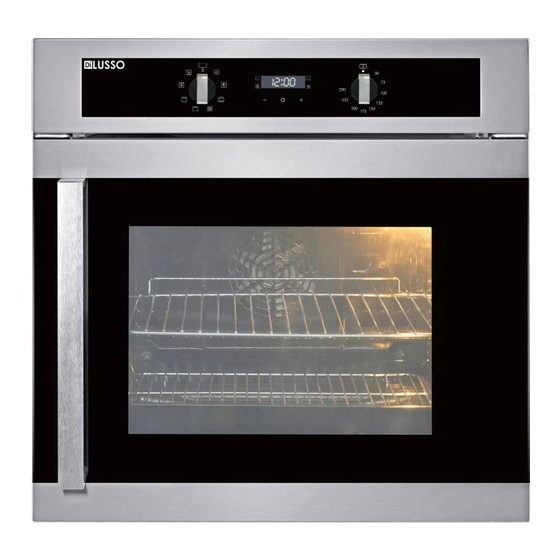
diLUSSO OV608SDS Kurulum ve Kullanım Kılavuzu - Sayfa 17
Fırın diLUSSO OV608SDS için çevrimiçi göz atın veya pdf Kurulum ve Kullanım Kılavuzu indirin. diLUSSO OV608SDS 18 sayfaları. Side opening door built-in oven

10) TELESCOPIC RACKS ASSEMBLY
To assemble the telescopic arms :
Warning:
1. Ensure that the appliance is switched off before replacing the lamp to avoid the possibility of electrical shock.
2. Accessible parts may become hot during use. Young children should be kept away.
3. Do not use harsh abrasive cleaners or sharp metal scrapers to clean the oven door glass since they can scratch
the surface, which may result in shattering of the glass.
4. Steam cleaner is not to be used.
5. Fixed wiring must be protected.
6. The door should be situated more than 85 mm above floor after installation of the oven.
7. Means for disconnection must be incorporated in the fixed wiring in accordance with the wiring rules.
8. When it is in use the appliance becomes hot. Care should be taken to avoid touching heating elements inside
the oven .
Version 1.0
Remove the two frames, lifting them away from spacers A
Choose which shelf to use with the telescopic arms. Pay
attention to the direction in which the telescopic arms is to be
extracted. Position joint B and the joint C on the frame.
Secure the two frames with the guide rails using the holes
provided on the oven walls. The holes for the left frame are
situated at hole F1, F2, and the right frame at hole D1, D2.
Finally fit the frames on spacers A.
Page 16
May 2021
