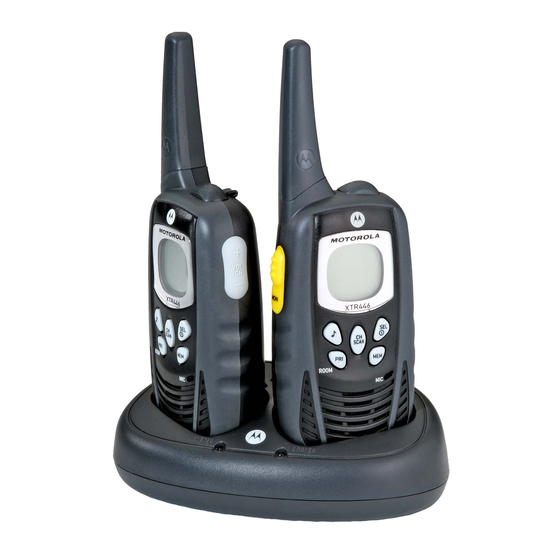
Motorola XTR446 Kullanıcı Kılavuzu - Sayfa 6
İki Yönlü Telsiz Motorola XTR446 için çevrimiçi göz atın veya pdf Kullanıcı Kılavuzu indirin. Motorola XTR446 17 sayfaları. Pmr 446 two-way radios

6864234V01-A_EN Final2.fm Page 5 Monday, August 14, 2006 3:38 PM
Charging Status
The solid red indicator shows that the radio with NiMH
battery is charging. A depleted battery will recharge to
full capacity within 16 hours.
Note: When moving between hot and cold
environments, do not charge the radio until the
battery temperature acclimatises (usually about
20 minutes). For optimal battery life, remove the
radio from the charger within 16 hours. Do not
store the radio in the charger.
Turning Your Radio On and Off
SEL/
1.Press and hold
for approximately 2
seconds to turn your radio on.
2.The radio chirps and the display briefly shows all
feature icons that your radio has available.
The display then shows the channel number 1-8,
the interference eliminator code 00-38 and the
battery meter.
SEL/
3.Press and hold
for approximately 2
seconds to turn your radio off.
Volume
VOL/CH
1.Increase the volume by pressing the
button (+). To decrease the volume press the
CH
side button (-). The volume level (0-7) is
displayed for 5 seconds.
Keypad Tones
Every time you press a button on your radio, it beeps -
except for PTT and ^.
To enable or disable keypad tones, press and hold ^
while switching your radio ON.
Battery Meter and Low Battery Alert
The battery level indicator
the display, indicates the battery status. When the
battery in the unit is low, the battery level indicator
flashes. The radio will sleep when the voltage drops
below a predetermined level, to protect the
rechargeable battery.
Battery Life
The approximate (typical) battery life for:
• AAA Alkaline batteries is 20 hours
• NiMH batteries is 14 hours
This is based on a 5% transmit, 5% receive and 90%
standby cycle.
Note: Battery life will be reduced if you regularly use
Hands-Free (VOX) accessories.
side
Belt Clip
VOL/
Your radio is supplied with two belt clips.
1.To attach, align the grooves of the belt clip with those
of the back of the radio. Slide the belt clip down-
wards until a click is heard.
2.To remove, pull the release tab away from the radio
back and slide the belt clip upwards.
, located in the top of
5
