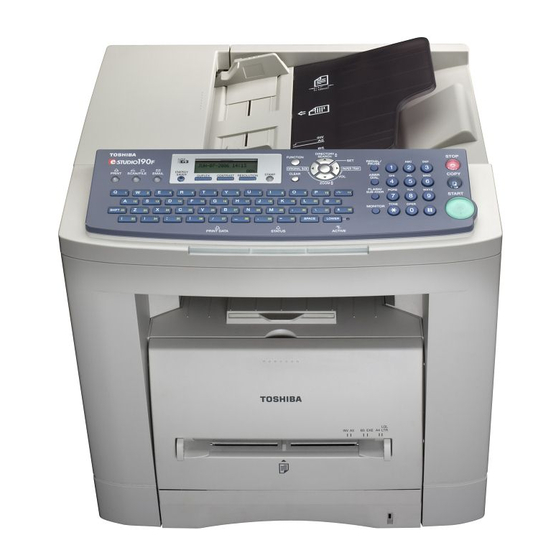
Toshiba E-Studio 190F Hızlı Kılavuz - Sayfa 35
Hepsi Bir Arada Yazıcı Toshiba E-Studio 190F için çevrimiçi göz atın veya pdf Hızlı Kılavuz indirin. Toshiba E-Studio 190F 40 sayfaları. Internet facsimile/email and network scan functions
Ayrıca Toshiba E-Studio 190F için: Hızlı Kılavuz (2 sayfalar), Hızlı Kılavuz (16 sayfalar)

ATTENTION
Correct
Incorrect
NOTE: When the optional Tray-2 is installed and the same size of paper is loaded in both trays, the paper will be supplied
from Paper Tray-2 first. This is the default setting, if you wish to change the setting, please consult with your
service representative.
To make copies from the Sheet Bypass
1.
Set the original(s) on the ADF.
2.
Press
.
COPY
3.
Set a sheet of paper into the Sheet Bypass.
4.
PRESS "✽" appears in the upper line of the LCD display.
5.
If you wish to make multiple copies from the Sheet Bypass (Thick media), input the desired number of copies first and
press
. After each media sheet is processed, a "BYPASS ADD PAPER" prompt message will appear on
START
LCD display, insert an additional media into the Sheet Bypass (one-at-a-time) until your copy job is completed.
Adding Paper / Tray-2
Always remove all paper from Tray-2, fan and straighten remaining paper before replenishing paper. This helps prevent
multiple sheets of paper from feeding through the Tray-2 at one time, thus reducing paper jams.
Maximum Copies Limitation
After setting the maximum allowed number of copies for each department, consult with your Key Operator when the total
copy count reaches the designated limit and the "MAX COPIES ALLOWED" message appears on the LCD.
(Side View)
When the optional Paper Tray-2 is installed, and either Paper
Tray (Tray-1 or Tray-2) is not closed firmly, paper jam may
occur.
35
