Dimplex ELECTRALOG CS1205 Servis Kılavuzu - Sayfa 8
Soba Dimplex ELECTRALOG CS1205 için çevrimiçi göz atın veya pdf Servis Kılavuzu indirin. Dimplex ELECTRALOG CS1205 16 sayfaları. Electric stove
Ayrıca Dimplex ELECTRALOG CS1205 için: Kullanıcı El Kitabı (12 sayfalar), Kullanıcı El Kitabı (11 sayfalar), Kullanıcı El Kitabı (11 sayfalar)
- 1. Table of Contents
- 2. Operation
- 3. Replacement Parts
- 4. Wiring Diagram
- 5. To Replace Light Bulbs
- 6. To Replace Lampholders
- 7. To Replace On/Off and Heater Switches
- 8. To Replace Heater Assembly
- 9. To Replace Terminal Block
- 10. To Replace Flame Motor/Flame Rod
- 11. To Replace the Power Cord
- 12. Troubleshooting Guide
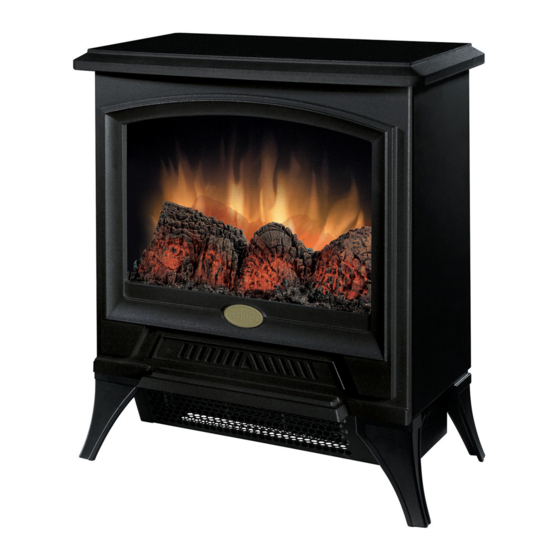
CS1205
If unit was operating prior to servicing allow at least 10 minutes for light bulbs and
heating element to cool off to avoid accidental burning of skin.
Disconnect power before attempting any maintenance or cleaning to reduce the risk of
electric shock or damage to persons.
TO REPLACE LAMPHOLDERS
1. Remove the light access panel from the bottom of the rear panel of the stove.
2. Remove the light bulb from the socket by turning counter clockwise.
3. Turn the stove over onto its top.
NOTE: A protective barrier between the top of the unit and your work surface is
suggested, (i.e. cloth, cardboard, thick plastic) to avoid scratching the finished
surface of the stove.
4. Remove the 5 screws which secure the bottom heater cover to the fireplace: 2 at the
front and 3 at the back.
5. Lift the heater assembly and cover off the body of the stove and turn sideways
resting it against the legs of the unit, exposing the light harness/socket assembly
and terminal block.
6. Cut the plastic wire-ties which secure the wires to the base of the stove.
7. Remove the blue and white wires from the terminal block by loosening the screw in
the associated terminal to release each wire, noting their original locations.
8. Remove the screw which secures the lampholder to the base of the fireplace.
9. With a flat head screwdriver, push the lampholder sideways to allow mounting tab to
release so that it can be pushed through the opening in the base of the stove.
10. Through the access panel in the back, pull the original lampholder and the wire
leads out of the stove.
11. Through the same location feed the new lampholder back into the base of the stove.
12. Secure the socket with the original screw.
13. Insert the wires into the terminal block following the original configuration and tighten
the terminal screws to secure the wires into position.
14. Re-assemble the covers and the light bulb in reverse order as described above.
NOTE: When securing the bottom panel to the fireplace, take care that no wires are
in the way of the heater fan and are not caught or pinched between the cover and
the stove.
7