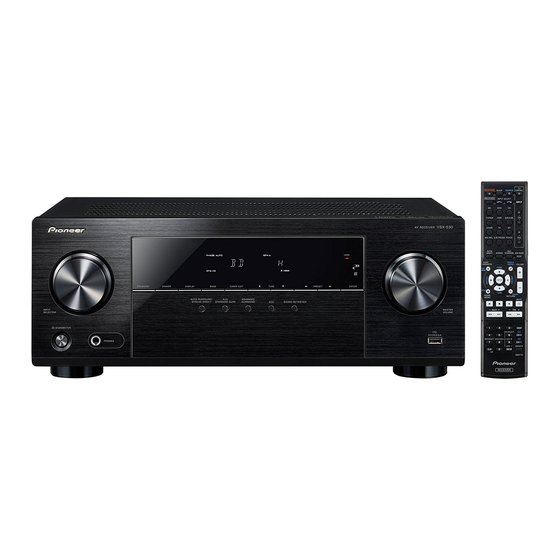
Pioneer VSX-530-K Servis Kılavuzu - Sayfa 17
Stereo Alıcı Pioneer VSX-530-K için çevrimiçi göz atın veya pdf Servis Kılavuzu indirin. Pioneer VSX-530-K 32 sayfaları. Pioneer vsx-1130-k; vsx-830-k; vsx-530-k av receivers
Ayrıca Pioneer VSX-530-K için: Referans Kılavuzu (27 sayfalar), Hızlı Başlangıç Kılavuzu (17 sayfalar), Kullanım Talimatları Kılavuzu (39 sayfalar)

5
4. EACH SETTING AND ADJUSTMENT
4.1 UPDATING OF THE FIRMWARE (IC3: SUB MICROCOMPUTER)
• The updating jig (GGF1642) in this Section is the same as that used for updating of the MAIN microcomputer of the base
model (VSX-523-K/CUXESM).
• The software for updating to be used on a PC is "FLASH MCU Programmer for FM0+/FM3/FM4."
Please download it from Service Website.
• The updating procedure for MAIN microcomputer is same as the base model (VSX-523-K/CUXESM).
Please refer to the Service Manual (RRV4418) for VSX-523 regarding it.
[Preparations]
1. Install the software for updating on the PC.
2. Unplug the power cord of the main unit.
Connect the FFC of the updating jig for updating to the
main unit.
(Orient the FFC so that the conductive surface of the
connector faces the triangular a symbol.)
Rear side
3. Start the software for updating on the PC.
[Procedures]
To perform updating, proceed as follows:
1. Set the values for Target MCU and Crystal Frequency,
as follows:
Target MCU: MB9AF156M/N/R
Crystal Frequency: 4MHz
1
2
2. Specify the software file to be updated.
3
Click on "Open"
to open the File Selection window.
Select Intel Hex files (*.hex) in File Type.
5
6
1
2
3
4
VSX-530-K
6
7
3. Specify the COM PORT.
Click on "Set Environment"
Environment Setting window.
Assign the COM PORT number 5, according to the
environment.
6
Click on "OK"
to close the Environment Setting
window.
6
4. Click on "Full Operation (D+E+B+P)"7.
7
5. After the window shown below is displayed, turn the
main unit on.
6. Press the Reset button of the updating jig for updating.
7. Click on "OK" 8.
8
7
8
4
to open the
5
17
8
A
B
C
D
E
F
