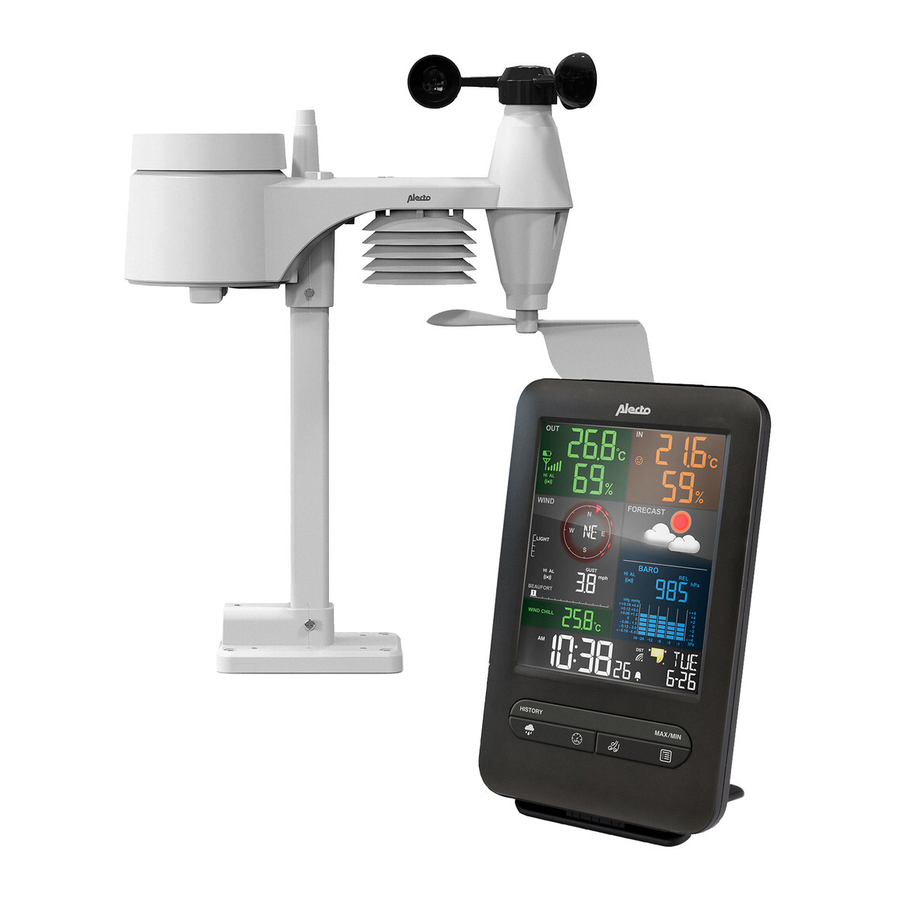
Alecto WS-4900 Kullanıcı Kılavuzu - Sayfa 9
Hava İstasyonu Alecto WS-4900 için çevrimiçi göz atın veya pdf Kullanıcı Kılavuzu indirin. Alecto WS-4900 20 sayfaları. Weather station with wireless outdoor sensor

Automatic:
As soon as you install the batteries into the indoor unit, the clock starts searching for the DCF radio signal
to set the correct time and date while the antenna symbol
WS-4900 will start showing the correct time. In extreme cases, it can take over a day before the DCF time
is shown.
while searching for the radio signal, you cannot continuously switch on the display lighting. However
by pressing the ALARM/SNOOZE button, the display lighting will switch on but switches off again
after 5 seconds. As soon as the clock has found the radio signal, or when stopping the search by briefly
pressing the RCC button, the display lighting switches on continuously.
Manually:
If the clock cannot receive the radio signal or cannot receive it well enough, you can set the clock manually
as follows:
1. Press and hold the button
2. Use / to set the time format, then briefly press the
3. Use / to set the hours and then briefly press the
4. Use / to set the minutes and then briefly press the
5. Use / to set the seconds to 0 (this allows you to have the clock run synchronously with your own
clock) and then briefly press the
6. Use / to set the year and then briefly press the
7. Use / to set the month and then briefly press the
8. Use / to set the date and then briefly press the
9. Use / to set the difference in hours as compared to the DCF time. For use in the Benelux, select '0'
and briefly press the
10. Use / to set the language for displaying the days, you may choose from: EN (English), FR (French),
DE (German), ES (Spanish) or IT (Italian), briefly press the
11. Use / to determine whether the clock must automatically switch to daylight saving time (AUTO) or this
must be done manually (OFF), briefly press the
The clock is now set manually.
When the DCF receiver is enabled and a strong signal is being received, the receiver will overwrite the
clock display.
To switch the DCF receiver on/off:
You may switch off the DCF receiver as follows to only display the time and date you've programmed
yourself:
•
to switch off: press and hold the RCC button at the rear of the weather station for 8 seconds until OFF
illuminates and the antenna symbol
You may switch the receiver back on as follows:
to switch on: press and hold the RCC button at the rear of the weather station for 8 seconds until ON
•
illuminates, the antenna symbol
The
symbol in the upper part and in the middle of the display shows the status of the DCF clock:
No symbol:
flashing:
remains lit:
3.5 To reset the rain data:
After everything is installed, press and hold the HISTORY button for 10 seconds to delete all measurement
data up to that moment. This prevents you from seeing measurement data at a later time that was caused
by movements during the installation.
for 2 seconds, 12Hr or 24Hr will appear in the display
button
button
disappears
starts flashing and the display turns green.
the DCF receiver is switched off; the displayed time is determined by the internal
clock of the weather station
the DCF receiver is switched on and is searching for the DCF signal; the displayed
time is determined by the internal clock of the weather station
the DCF receiver is switched on and is receiving the DCF signal; the displayed time
and date are determined by the atomic DCF clock in Frankfurt
flashes. After several seconds or minutes the
button
button
button
button
button
button
button
button
9
