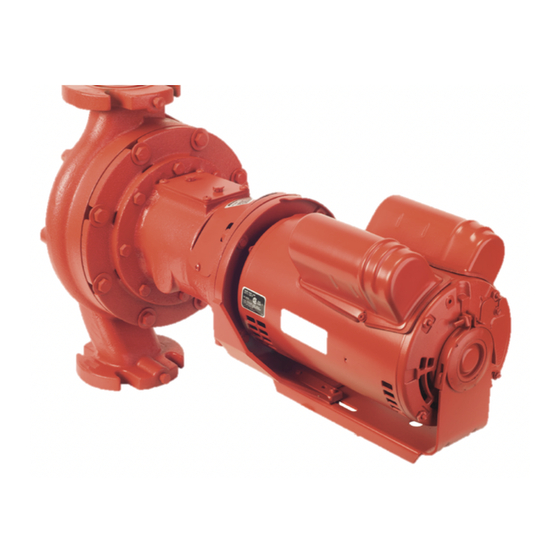
Armstrong s-57 Kurulum ve Kullanım Talimatı - Sayfa 2
Su Pompası Armstrong s-57 için çevrimiçi göz atın veya pdf Kurulum ve Kullanım Talimatı indirin. Armstrong s-57 10 sayfaları. In-line ecm circul ating pumps
Ayrıca Armstrong s-57 için: Kurulum ve Kullanım Talimatları (2 sayfalar)

i n stal l a t io n &
o p era t ing i nstruct ion s
2
115V or 208-230V 1ph wiring - see
Appendix 1 for more details
5 .0 speed setting
The ecm motor operates in speed mode when connected to the
pump. You can adjust the demand of the motor manually using
the hmi Interface. The motor information and error code are
displayed in the Interface.
All interface details and future explanation can be seen in
Appendix 1.
6.0 0v to 10v dc control
0V to 10V DC control is available where the system allow, using
an external source and wiring. This input is for a linear closed-
loop speed control and a speed signal for speed monitoring,
which can greatly save on Energy consumption.
For more details please see Appendix 1.
7.0 lubrication
caution
Do not put oil in the maintenance free circulators.
These models contain MF in their item numbers and
are labelled: this bearing assembly contains perma-
nently lubricated bearings and does not need any
oiling or greasing.
Stop motor before lubricating, do not over-oil or spill oil on
resilient motor rings. Do not force oil into cups, and stop if cup
fills before addition of specified amount.
Pump lubrication
Only applicable for pumps those are with sleeve bearing sba
and have oil cup for lubrication.
Immediately after pump is installed and before
running, slowly add the oil (sae 30 non-detergent
regular, supplied with pump) to pump oil cup, located
on top of bearing bracket:
s69, h63 to h67 . . . . . . . . . . . . . . . . . . . . . . . . . . . . . . . . . . . . .2 oz.
In-line circulating
pumps
connections
green/verde screw
ground
At the start of each following heating season, lubricate with
sae 30 oil. Lubricate every six months for high temperature or
constant operation. Be sure oil is visible at the top and center of
window on side of bracket and maintain this level at all times.
Motor lubrication
caution
Stop motor before lubricating. Do not over-oil or spill
oil on resilient motor rings.
This motor has been lubricated properly at the factory. At
the start of each following heating season, however, on motors
with oil cups, add 15 drops sae 30 non-detergent oil to each
motor cup.
If the motor is fitted with grease fittings, follow the motor
manufacturer's recommended procedure. Motors without oil
cups or grease fittings are custom-greased for several years
operation and require little or no attention.
8.0 seal replacement
Remove the pump bracket from the body. Remove the impeller,
damaged seal assembly, ceramic insert and rubber cup. Clean
the recess in bearing bracket cover plate and install a new re-
tainer cup and ceramic insert. Check the condition of the shaft
sleeve. If scored, replace the shaft assembly. Otherwise, clean
shaft extension and polish sleeve with a fine crocus cloth, using
a rotating motion, if required.
Press against the coupler end of the shaft to take up play while
pressing new seal firmly against the stationary face. A slight
amount of clean vaseline may be put on shaft sleeve to assist
installation. Press down firmly and evenly, using two screw-
drivers and pushing against the four ears of driving band (the
metal ring around rubber bellows), or around top outer edge of
driving band on models s53, s57 and h53, h5 4 .
Continue pressing against coupler end of shaft, re-mount
impeller and re-assemble the seal bearing assembly into body.
If necessary, install a new body gasket and clean gasket surface
of both volute and bracket.
