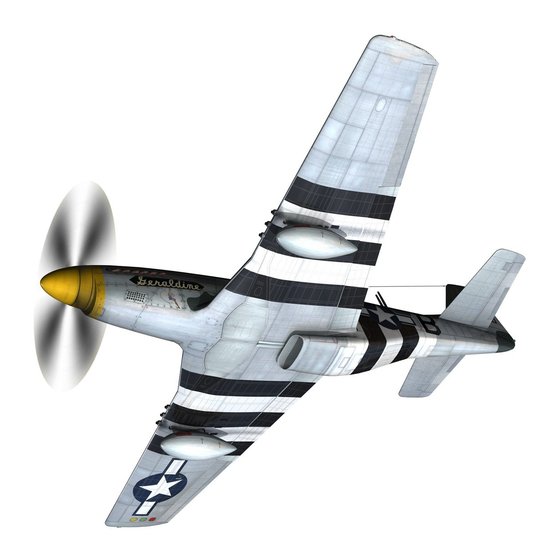
3D Creations North American P 51 D Mustang Montaj Talimatları Kılavuzu - Sayfa 8
Oyuncak 3D Creations North American P 51 D Mustang için çevrimiçi göz atın veya pdf Montaj Talimatları Kılavuzu indirin. 3D Creations North American P 51 D Mustang 15 sayfaları. Paper scale model kit

spars and butt them together. Cut out parts #16 and 17. Glue part #17 over the seam
between the two wings. Trim the edges if necessary. Flip the wing over and check the
dihedral. It should be right at one inch. See figure 24. Glue part #16 over the seam on the
top of the wings making sure you hold that 1 inch dihedral while doing it. Trim off any
excess that might hang off at the edges.
Mounting the Wing
First prepare the fuselage for the wing by folding in all the glue tabs on the wing mount
section of the fuselage.
Do not apply glue at this time.
It is also necessary to carefully
fold back
(with no crease)
the end of part # 22 to allow the landing gear strut to pass by.
This step is not necessary if the gear is not present.
Carefully slide the wing through the
wing mount area on the fuselage. This is
intentionally a tight fit. Use patience and be
gentile completing this task. After checking the
alignments to insure that wing is centered and
squares with the fuselage apply glue to the tabs
inside the fuselage. This is accomplished by
using liquid glue and a modeling paintbrush
extended into the nose and tail holes in the
fuselage. Apply glue to the underneath side of
part #22 and lay it back down into place. Cut out
parts #13. Double check the alignment and glue
these parts to the fuselage and wing as shown in
figure 25.
8
