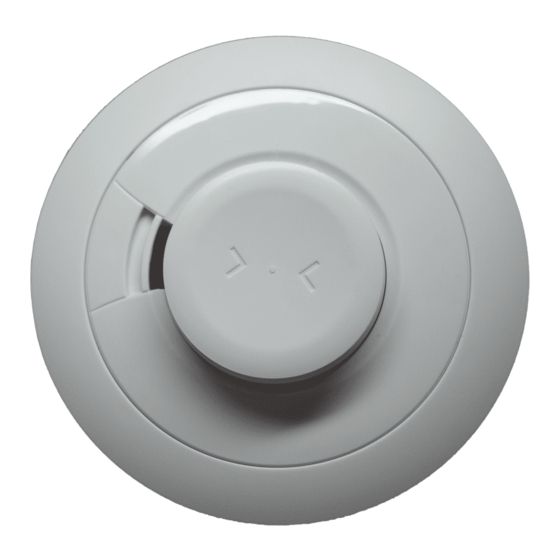
Alula RE614 Hızlı Başlangıç Kılavuzu - Sayfa 8
Duman Alarmı Alula RE614 için çevrimiçi göz atın veya pdf Hızlı Başlangıç Kılavuzu indirin. Alula RE614 12 sayfaları. Smoke alarm connect+ compatible

Figure 5
ROTATE UNIT ANTI-CLOCKWISE
UNIT WILL NOT TWIST OFF - IT MAY BE
TAMPERPROOFED - SEE FIGURE 8
6. Carefully line up the Alarm on to the
mounting plate, gentle press home and
twist clockwise.
Install all the other Alarms similarly.
7. Press the Test button on each Alarm to
ensure that the Alarm works (see Figure 6).
Figure 6
Smoke Alarm
Tamperproofing the Alarm
The
Alarm can be made tamperproof
to prevent unauthorised removal of the
Alarm.
Break off the small pillar on the base as
shown in Figure 7a. To remove the Alarm
from the ceiling it is now necessary to use
a small screwdriver, to release the catch
(push catch towards the ceiling) and then
twist off the Alarm (see Figure 7b).
Figure 7a
- How to Tamperproof
Figure 7b
If necessary it is possible to further secure
the Alarm by using a No.2 or No.4 (2 to
3mm) (1/8") diameter - not supplied) self
tapping screw 6 to 8mm (1/4") long (see
Figure 7d), to firmly lock the Alarm and its
mounting plate together (see Figure 7c).
Figure 7c
Figure 7d
Attach the Alarm to the mounting plate.
Line up the screw
the "U" shaped recessed area shown in
Figure 7c and screw firmly home.
To remove the Alarm from the ceiling,
remove the screw first, and then twist off
anti-clockwise.
BREAK OFF
SMALL PILLAR
Your Alarm is a life saving device and
should be checked periodically.
7.1 Manually Testing your Alarms
It is recommended that you test your
Alarms after installation and then at least
weekly to ensure the units are working.
It will also help you and your family to
8
- How to Remove
PUSH UP CATCH & TWIST
ALARM ANTI-CLOCKWISE TO REMOVE
TAMPERPROOF SCREW
SELF TAPPING
SCREW
2 to 3 mm
7. Testing, Maintenance and
Power Supply Monitoring
(not supplied) on
