ASG X-PAQ ASG-NW2500-EIP Kullanıcı Kılavuzu - Sayfa 6
Kontrol Ünitesi ASG X-PAQ ASG-NW2500-EIP için çevrimiçi göz atın veya pdf Kullanıcı Kılavuzu indirin. ASG X-PAQ ASG-NW2500-EIP 15 sayfaları. Ethernet ip network communication module

Quick Start Guide:
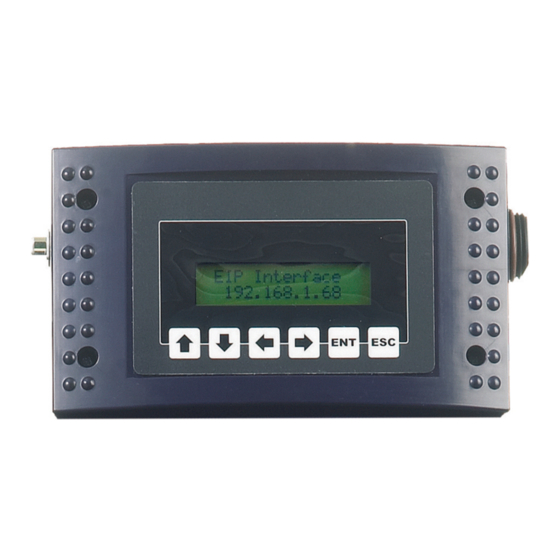
Step 1: Power up the NW2500-EIP.
Step 2: Be sure that the unit is physically connected to the network through the
Ethernet connection (RJ45 Connector).
(please consult your IT group for this value). Press the ENT key to store the value.
Step 9 Cycle Unit Power:
After all of the network settings are programmed. Turn the unit off and then back on again.
The network module's settings will only be altered at power up.
Step 3:
Use the network user interface and enter the program mode by
pressing the ENT key. The unit will prompt the user for a password at
this point, the default is "0 1 0 4". Using the keypad, enter the pass-
word
Step 4 Network Settings:
The menu system is broken down into a few different sub-menus.
Select "Network Settings" from the main menu and press the ENT
key.
Step 5 Connection Type:
The the "Network Settings" sub-menu select "Connection" and press
the ENT key. The connection type can be set to either static or dy-
namic. If dynamic is chose, the network should automatically select
an IP address. If static is chose, an IP address will need to be pro-
grammed into the unit.
Step 6 Set IP Address:
This step can be skipped if IP addresses are assigned dynamically by
the network. If the connection type is static, select "IP Address" from
the sub-menu and press the ENT key. Using the arrow keys, edit the
IP address for the unit. Please consult the IT director for this value.
Step 7 Subnet Mask:
Next, from the networking sub-menu, select "Subnet Mask". The Sub-
net Mask helps the unit determine which IP addresses are local and
which lie beyond a Gateway. Press the ENT key to view the unit's
Subnet Mask. Using the arrow keys alter this setting to the desired
value (please consult your IT group for this value). Press the ENT key
to store the value.
Step 8 Gateway:
The Gateway setting holds the address of the device that will allow
this unit to send and receive messages with devices that are not on
the local network. Press the ENT key to view the unit's Gateway ad-
dress. Using the arrow keys alter this setting to the desired value
6
