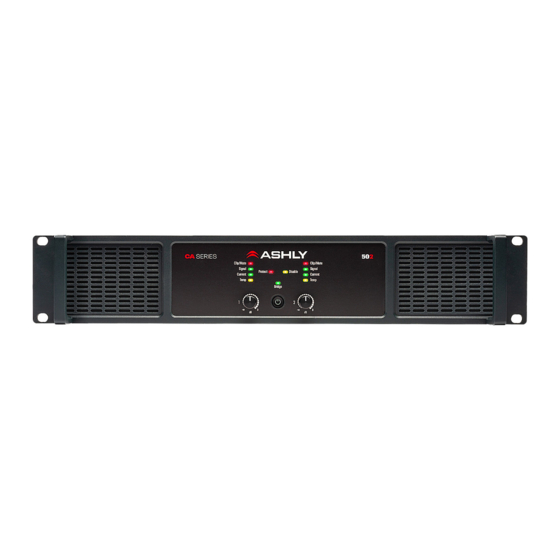
Ashly CA-1.54 Kullanım Kılavuzu - Sayfa 8
Amplifikatör Ashly CA-1.54 için çevrimiçi göz atın veya pdf Kullanım Kılavuzu indirin. Ashly CA-1.54 12 sayfaları. 2- and 4-channel

CA Amplifier • Operating Manual
5
Rear Panel Features
5.1
Standby Connector
This Euroblock connector is used for remote
contact closure control of amplifier standby
status, which places the amplifier into a low
power consumption state. A DIP switch sets
standby circuit polarity.
5.2
Standby Polarity & Front Panel
Disable DIP Switch
5.2a
Standby Polarity
The Standby Polarity
DIP switch sets the
polarity requirement
for placing the
amplifier into standby.
When standby polarity
is set High, the amp
goes into standby
whenever the circuit is open. When standby
polarity is set Low, the amp goes into standby
whenever the circuit is closed.
5.2b
Front Panel Disable
The Front Panel Disable DIP switch de-
activates all front panel controls.
5.3
DIP Switch Channel Settings
Each channel has its own DIP switch for
independently
setting 80Hz Hi-
Pass Filter, Clip
Limiter, and Gain as
described below:
5.3a
High Pass Filter
An 80Hz 2nd order hipass filter is used to reduce
low frequency content going to a speaker.
CA-1.54 shown
5.3b
Limiter
The clip limiter is used to prevent the amplifier
channel from sending clipped audio to the
speaker. When the clip limiter is enabled,
input signal level is automatically turned down
whenever full output power is exceeded.
5.3c
Gain
The Amplifier Gain settings are used to set the
overall voltage gain of the amplifier in dB. This
is useful when matching an amplifier to input
signal strength. Using the maximum expected
input signal level, set amplifier gain to the
highest setting possible without risk of the
amplifier going into clipping. The Gain setting
of 1.4V means a 1.4V input signal will drive the
amp to full output.
5.4
Euroblock Input Jack
Used for wiring a balanced input. Euroblock
connectors and 1/4" TRS/XLR combo jacks are
internally wired in parallel. If using an unbalanced
signal source on the Euroblock connector, wire its
input signal to the (+) pin, shield to (G), and also
wire the (-) input pin to ground.
5.5
Remote DC Level Control
Each channel has a
potentiometer circuit available
on a Euroblock connector for
remote DC level control of that
channel. The illustration to
the right shows proper wiring.
There is no limit to wire length.
Do not use any other ground source. If multiple
remote DC level controls are used for different
channels, the same ground and V+ sources can
be shared.
5.6
Bridge Mode Switch
This switch, when pressed in, places the
adjacent channel pair into bridge mode,
combining two amplifier outputs for more power
to a single speaker load. Bridge mode uses
only the odd numbered input and level control,
disabling the even numbered input and level
control for that channel pair. Speaker outputs
in bridge mode must be wired differently, as
shown on the back of the amplifier. A bridge
mode switch button can be removed for added
security by pulling it straight off.
8
