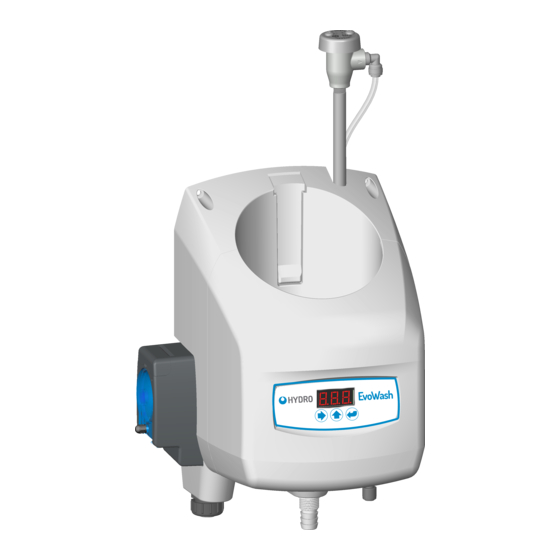
Dover HYDRO EvoWash Посібник із швидкого старту - Сторінка 4
Переглянути онлайн або завантажити pdf Посібник із швидкого старту для Диспенсер Dover HYDRO EvoWash. Dover HYDRO EvoWash 19 сторінок.

installation (continued)
Conductivity Probe
The probe senses the detergent concentration. Correct probe placement is critical for accurate detergent concentration
control. Always use the new probe provided with the dispenser. When choosing a mounting location, make sure that the
probe will be completely immersed in wash tank solution, in an area that has a good flow of solution and close to the product
entry point.
Many dish machines will have knockouts provided for probe
installation and/or will have existing probes. Previously punched
holes may be suitable, but always confirm that the probe will be
immersed in the wash tank solution before installing. The following
steps describe the conductivity probe installation.
1) Cut a 22mm or 7/8" hole using a suitable hole punch or cutter
and ensure that all sharp edges, cutting debris and burrs are
removed.
2) Remove probe retaining nut, plastic washer and one of the
rubber washers.
3) Insert the probe into the hole and re-assemble the rubber
washer, plastic washer and retaining nut back onto the probe
from inside the dish tank. Tighten the retaining nut by hand,
enough to prevent leaking.
Detergent Bulkhead Fitting
Correct placement of the detergent bulkhead fitting is critical for accurate detergent concentration control. Ensure that the
detergent bulkhead fitting is:
•
Above the water line in the tank.
•
Close to the conductivity probe location.
•
Discharging detergent directly into the wash tank and not on top of any shelf areas or obstacles that could prevent
detergent from falling directly into the wash tank.
1) Cut a 22mm or 7/8" hole using a suitable hole punch or
cutter and ensure all sharp edges, cutting debris and
burrs are removed.
2) Remove the retaining nut and O-ring.
3) Push the threaded side of the bulkhead fitting into the
hole in the tank, and add the O-ring and retaining nut
back onto the fitting from inside the tank.
4) Align the external hose barb so it is facing upwards, to
ensure flow of detergent from dispenser to tank.
5) Tighten retaining nut by hand, to ensure there are no
leaks in the assembly
Detergent Discharge Hose
NOTE! Ensure there are no kinks or sharp bends
in the discharge hose, between the unit and the
detergent bulkhead fitting, to ensure free flow of
detergent solution into the wash tank.
1) Using the supplied clear, flexible tubing, connect one end
to the discharge hose outlet on the unit and secure with
a cable-tie supplied in the mounting kit or a worm-gear
hose clamp.
2) Connect the other end to the detergent bulkhead fitting.
Cut tubing to the correct length as needed. As before,
secure with supplied cable tie or worm-gear hose clamp.
4
Retaining Nut
Plastic Washer
Rubber Washer
Ring Terminals
Side
View
Retaining Nut
O-ring
Side
Rubber
View
Washer
NOTE:
Global Model Shown
2
Push other end
onto Detergent
Bulkhead fitting
and secure
Dish Tank Wall
Conductivity Probe
Rubber Washer
Nuts
Washers
Dish Tank Wall
Bulkhead Tank Fitting
1
Push one end
onto Detergent
Discharge fitting
and secure
