Cardax FT Controller 3000 Вказівки щодо встановлення - Сторінка 4
Переглянути онлайн або завантажити pdf Вказівки щодо встановлення для Контролер Cardax FT Controller 3000. Cardax FT Controller 3000 11 сторінок.

Installation
1.
2.
3.
4.
5.
6.
4
The "Cardax FT Cabinet" Installation Note (part number 3C4513) details the
procedures involved to mount the Cardax FT Cabinet:
-
positioning the Cardax FT Cabinet door
-
removing the appropriate cutouts
-
securing the Cardax FT Cabinet to the building.
Note:The Cardax FT Cabinet should be installed in a secure, internal situation. The
security of the installation ultimately depends on the way you install the Cardax FT
Cabinet.
Using the 9 x M3 screws, fit the Controller PCB to the rear face of the Cardax FT
Cabinet, ensuring that the rear tamper sensor aligns with the light pipe. Also ensure that
the front LED lines up.
Install all the system and power cables. The cables should stow neatly and be held in
place by the cable clamps fitted into the base of the Cabinet.
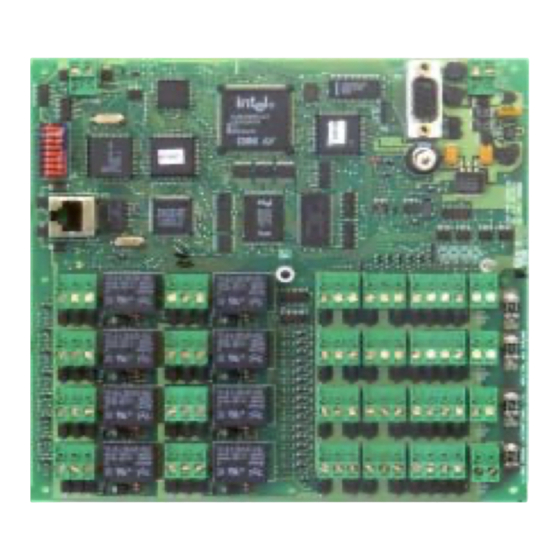
Refer to the next section "Component layout" for the location of the plugs.
PA1 to PA4
PB1 to PB4
PC1 to PC4
PD1 to PD4
P1
P2
P3
P4
PE1 to PE4
PF1 to PF4
Remember: The balanced inputs require the 4k7 ohm resistors to be connected as close
as possible to the device being monitored.
Install the component identification decal inside the Cardax FT Cabinet door. This
decal enables you to enter wiring and connection details and identifies the location and
designation of cable connections, fuses, LEDs, etc.
Initialise the Cardax FT Controller 3000.
The following initialisation procedures are detailed in the later section titled
"Initialisation":
- Setup details
- Optical tamper detectors
Fix the Cardax FT Product Label to the outside of the Cardax FT Cabinet door and
enter the relevant details.
=
Power out
=
Reader ports
=
Balanced inputs
=
Balanced inputs
=
Power in
=
10BaseT Ethernet port
=
Dial-up RS232 port
=
RS485
=
Relay outputs
=
Relay outputs
Part number 3E1089 R3
March 2003
