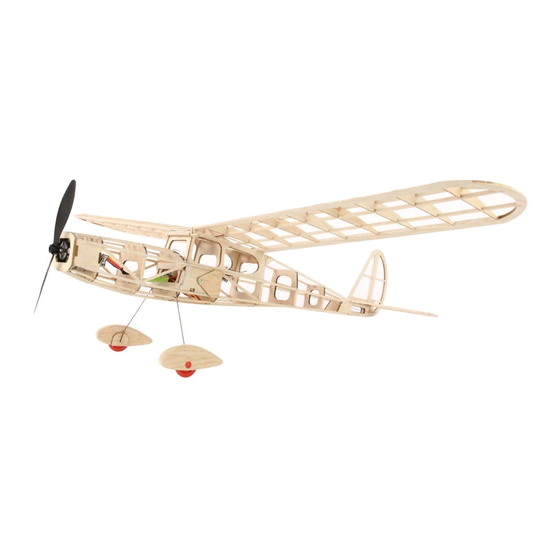
DPR Hyper Cub Посібник з монтажу - Сторінка 3
Переглянути онлайн або завантажити pdf Посібник з монтажу для Іграшка DPR Hyper Cub. DPR Hyper Cub 4 сторінки. Limited edition rc version

Longest
Pass the esc cables through the front of the fuselage,
the battery plug to the battery bay and the receiver
plywood
connection to the receiver bay in front of the battery.
side
Attach the motor box to the front of the fuselage with the
two screws and capture nuts supplied. Ensure the
Starboard
direction of side thrust is pointing to the starboard side
side
of the plane.
Install the servos as shown and pass the servo wires
through to the receiver bay in front of the battery.
Connect the wires into the receiver as appropriate and
test servo movement and throttle.
WARNING - make sure your propeller is not attached
when testing.
Take the 2 x piano wire`s supplied and make the two
push rods as shown in the images. The V sections are
so you can mechanically trim the push rod to achieve a
neutral elevator and rudder position.
340mm
340mm
Put a Z-bend on the servo end only and ensure the
Z- bend is in the correct orientation to allow the V bends
to lay parallel.
Z-bend
Pass the push rods through the
fuselage ensuring they locate
through the two push rod supports.
The push rods cross over in the
fuselage to allow free movement.
