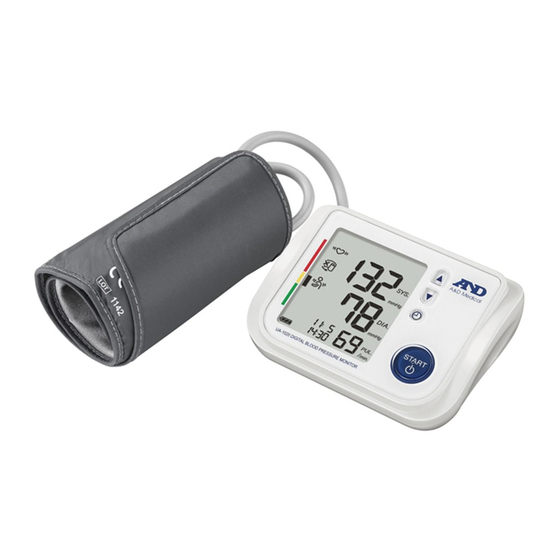
AND UA-1020 Інструкція з експлуатації - Сторінка 12
Переглянути онлайн або завантажити pdf Інструкція з експлуатації для Монітор артеріального тиску AND UA-1020. AND UA-1020 20 сторінок.
Також для AND UA-1020: Картка швидкого старту (2 сторінок)

Model UA-1020 is designed to detect the pulse and to inflate the cuff to a
systolic pressure level automatically.
If re-inflation occurs repeatedly, use the following methods.
Measurement with the SET Pressure
During the blood pressure measurement, re-inflation may occur.
A fixed pressure value can be set to avoid re-inflation.
1.
At step 6 of the clock adjustment procedure
(see page 8), press the SET button to go to
the pressure setting mode. The current
setting blinks.
2.
Press the
value about 30 mmHg or more above your
expected systolic pressure from the following.
AUTO : Automatic pressurization (default value)
180 : Pressure value of 180 mmHg (fixed)
210 : Pressure value of 210 mmHg (fixed)
240 : Pressure value of 240 mmHg (fixed)
3.
Press the SET button to go to the TriCheck setting mode.
Press the START button to turn the device off. After three minutes of
non-operation, the device will turn off automatically.
The next measurement will be performed with the new pressure value.
Measurement with the Desired Systolic Pressure
Use this method when re-inflation occurs repeatedly even if the pressure value
is set to 240 in the procedure above or when the results are not displayed
even if the pressure decreases to 20 mmHg or less.
1.
Place the cuff on the arm (preferably the left arm).
2.
Press and hold the
number about 30 to 40 mmHg higher
than your expected systolic pressure
appears.
3.
When the desired number is reached,
release the
measurement. Continue to measure
your blood pressure as described on
the previous page.
Measurements
or
button to select a pressure
button until a
START
button to start
START
Press and hold the button
Release the button
systolic pressure
English 11
or
TriCheck
Turn off
setting mode
At heart level
at the desired
Refer to the previous page
for measurement
START
