Dremel 3D20 Idea Builder Посібник із швидкого старту - Сторінка 3

Переглянути онлайн або завантажити pdf Посібник із швидкого старту для 3D-принтери Dremel 3D20 Idea Builder. Dremel 3D20 Idea Builder 4 сторінки. Unclogging
Також для Dremel 3D20 Idea Builder: Посібник із швидкого старту (8 сторінок), Посібник із швидкого старту (2 сторінок), Посібник із швидкого старту (8 сторінок), Посібник із швидкого старту (4 сторінок), Посібник із швидкого старту (2 сторінок), Посібник з усунення несправностей (2 сторінок), Посібник із швидкого старту (2 сторінок), Посібник із швидкого старту (2 сторінок), Посібник із швидкого старту (2 сторінок)
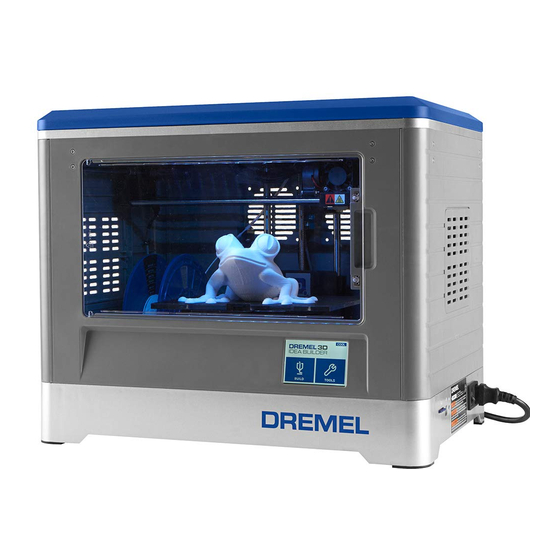
Dremel 3D20 Idea Builder Посібник із швидкого старту
Step 5: Unscrew the hot-end assembly from
the mounting carriage
1. Remove the left and right hand screws from the bottom of
the extruder mounting carriage.
2. Remove the hot-end assembly from the mounting bracket.
Step 6: Replace the hot-end assembly
1. Place the new hot-end assembly on the mounting bracket.
2. Using the 2.5mm hex wrench, insert and tighten the 2
mounting screws into the bottom of the bracket (shown in
Step 5: 1) to attach the new hot-end assembly.
Step 7: Replace the extruder on the mounting
bracket
1. Taking the heat sink and fan assembly, place the front
mounting screws through the aluminum block. Place the
extruder motor on the back of the extruder and screw in
the two screws.
2. Reconnect the four wires to the extruder, as shown. Be
sure to properly manage the wires next to the extruder.
• The blue and orange wires connect to the two clear
wires on the extruder.
• The black and red wires connect to the black and red
wires on the extruder.
• The red and blue wires connect to the white and red
wires on the extruder.
• The long connector attaches to the motor on the
extruder.
3